Perking up a veil or feathers

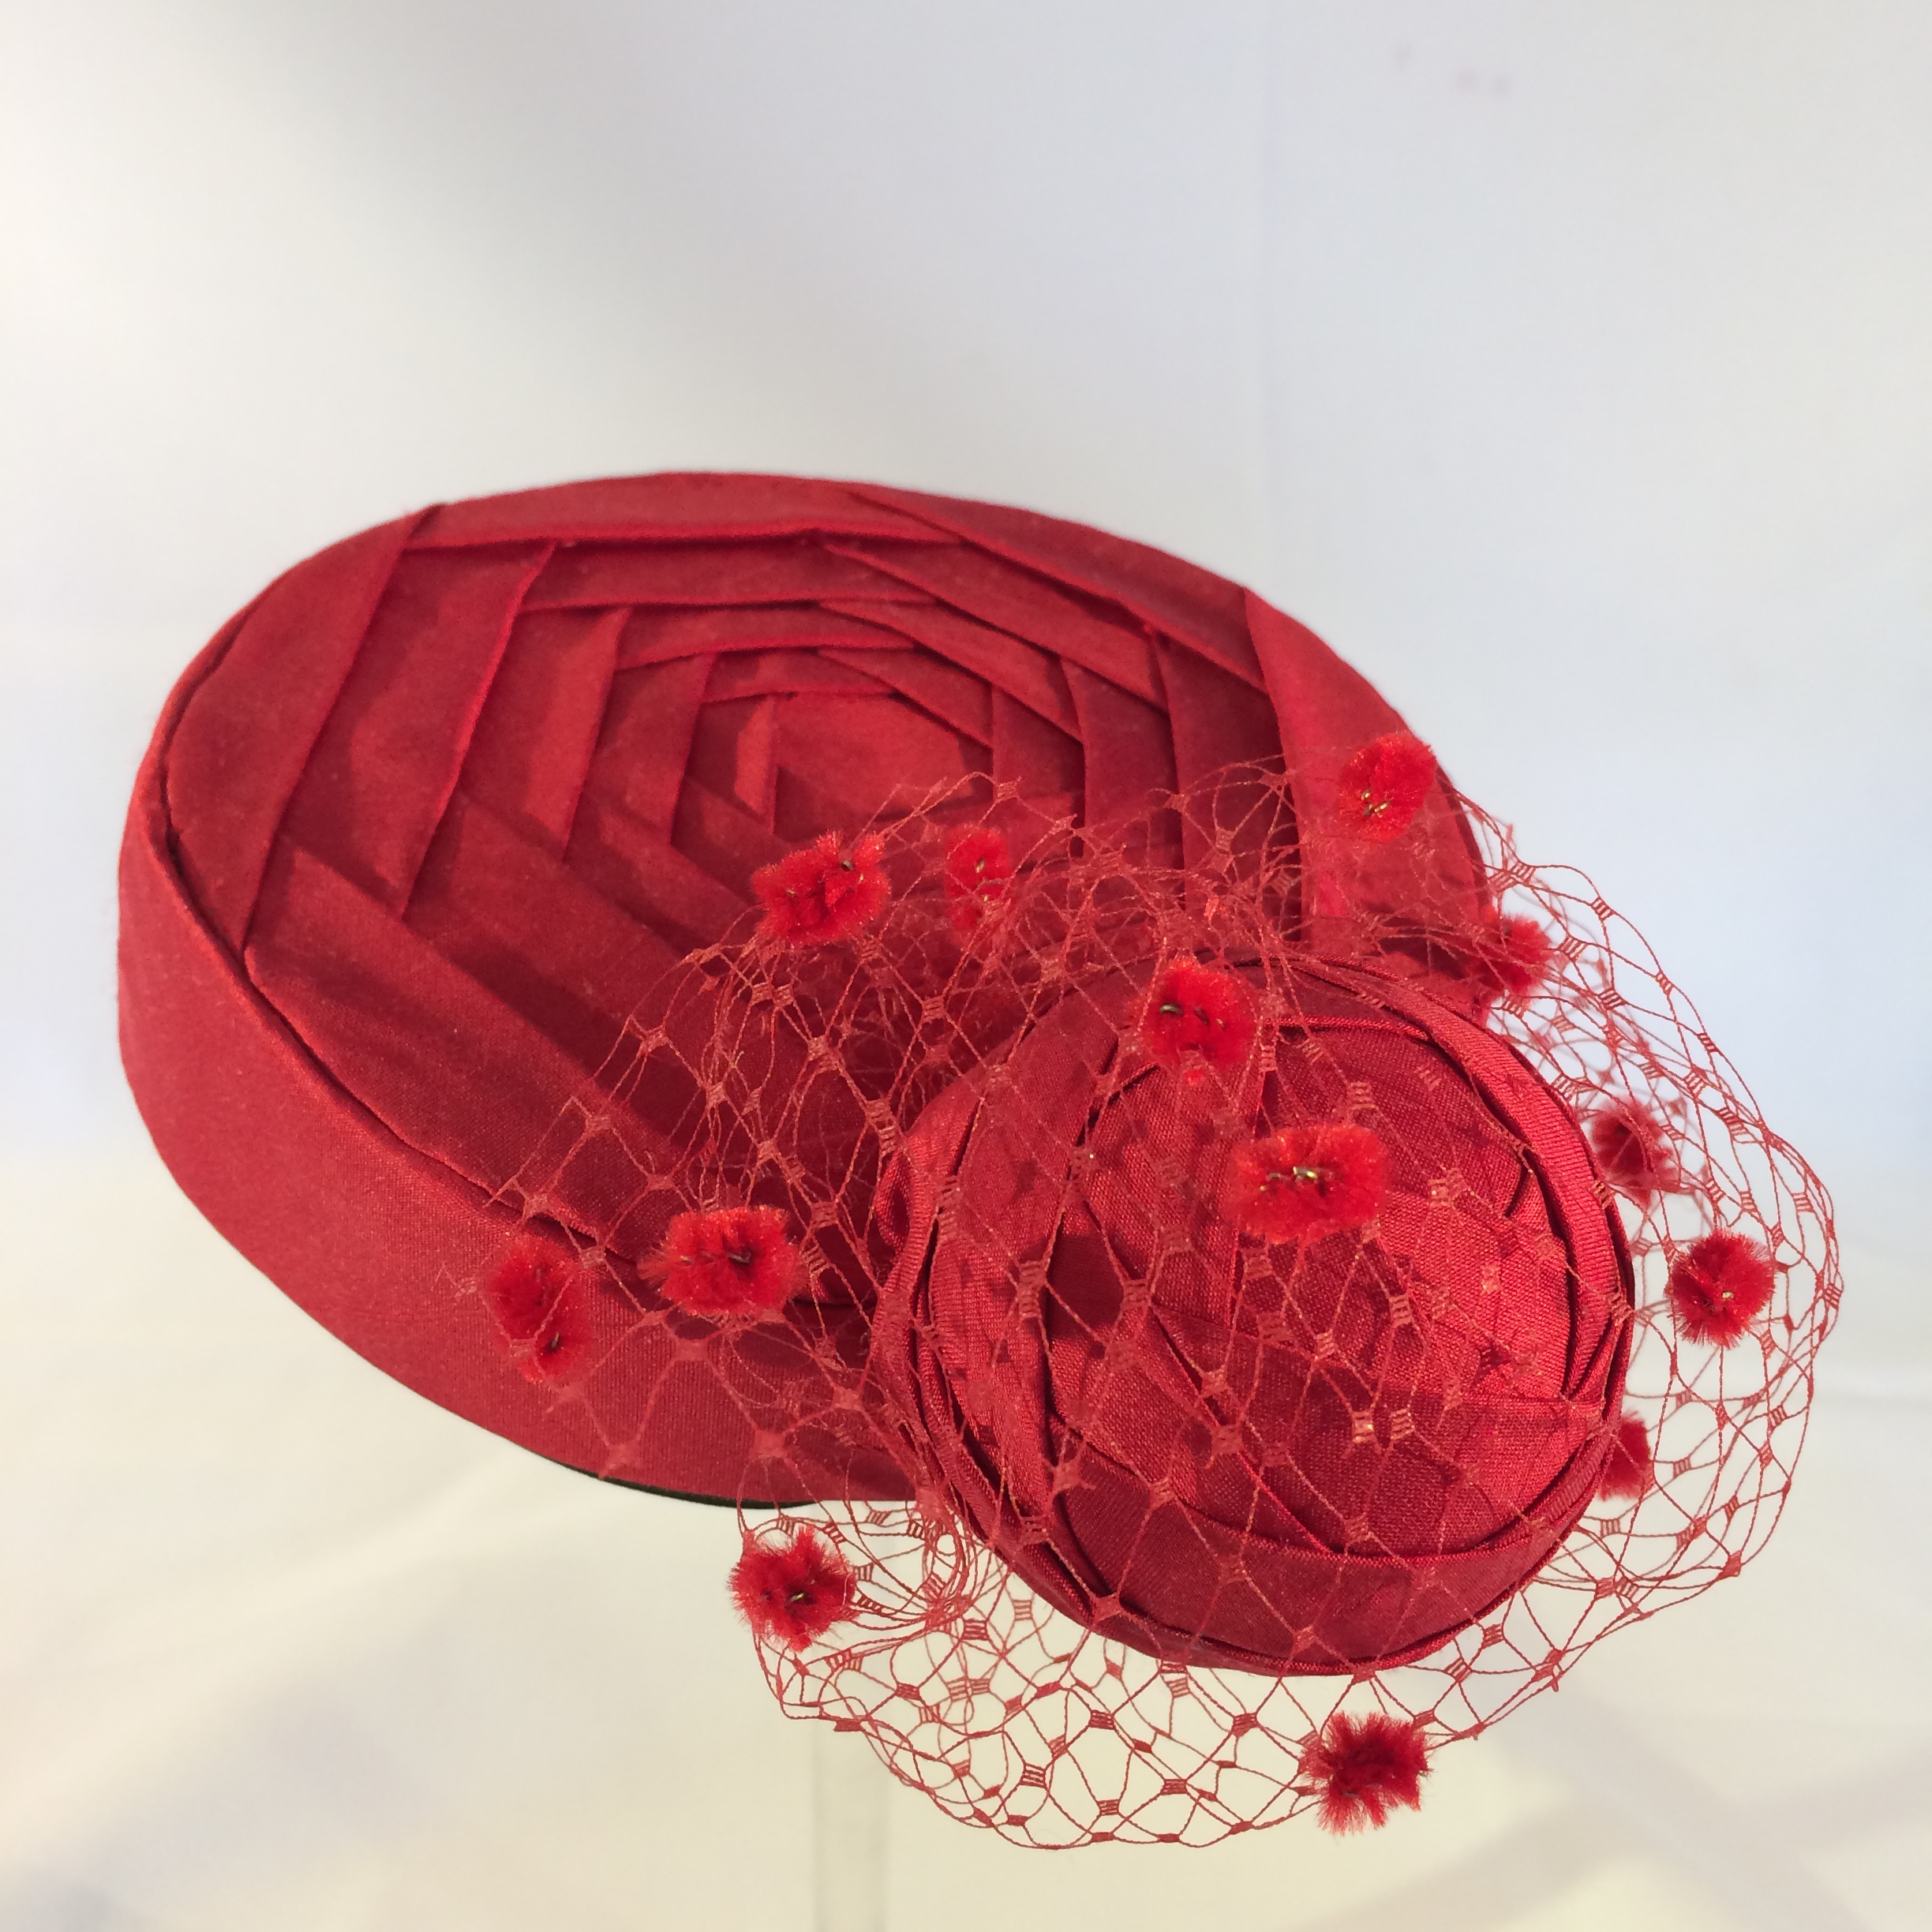
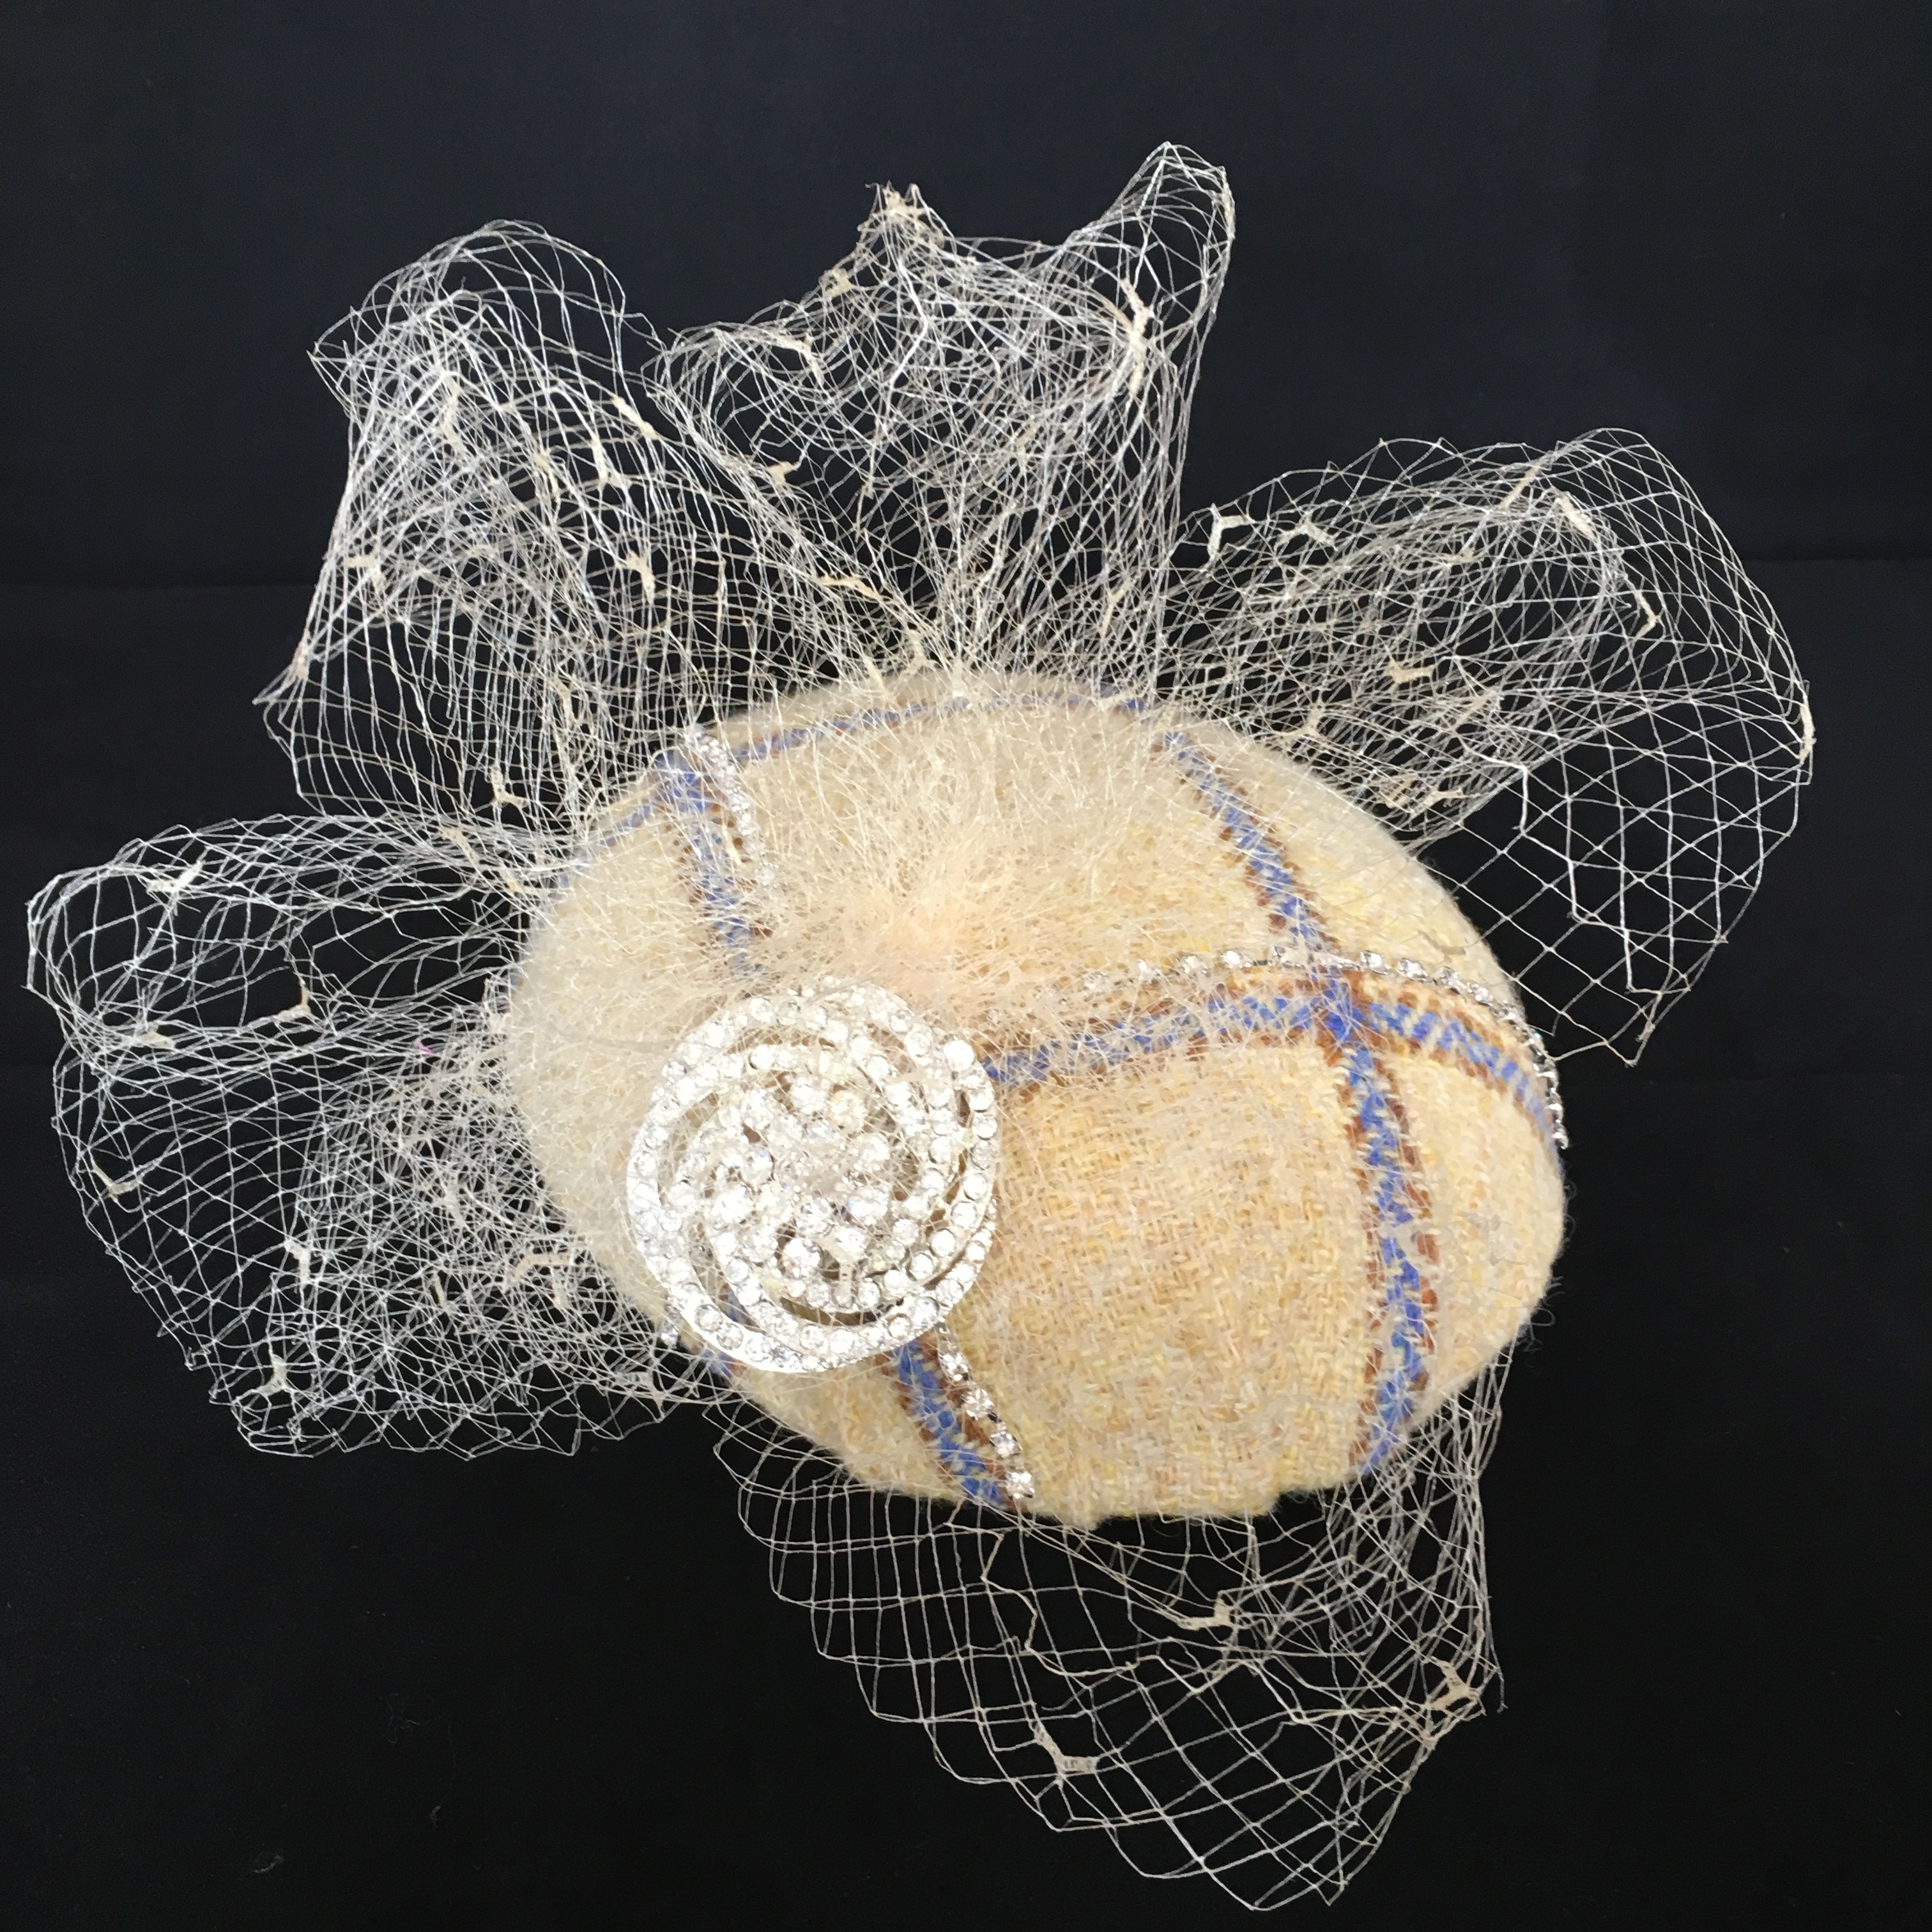
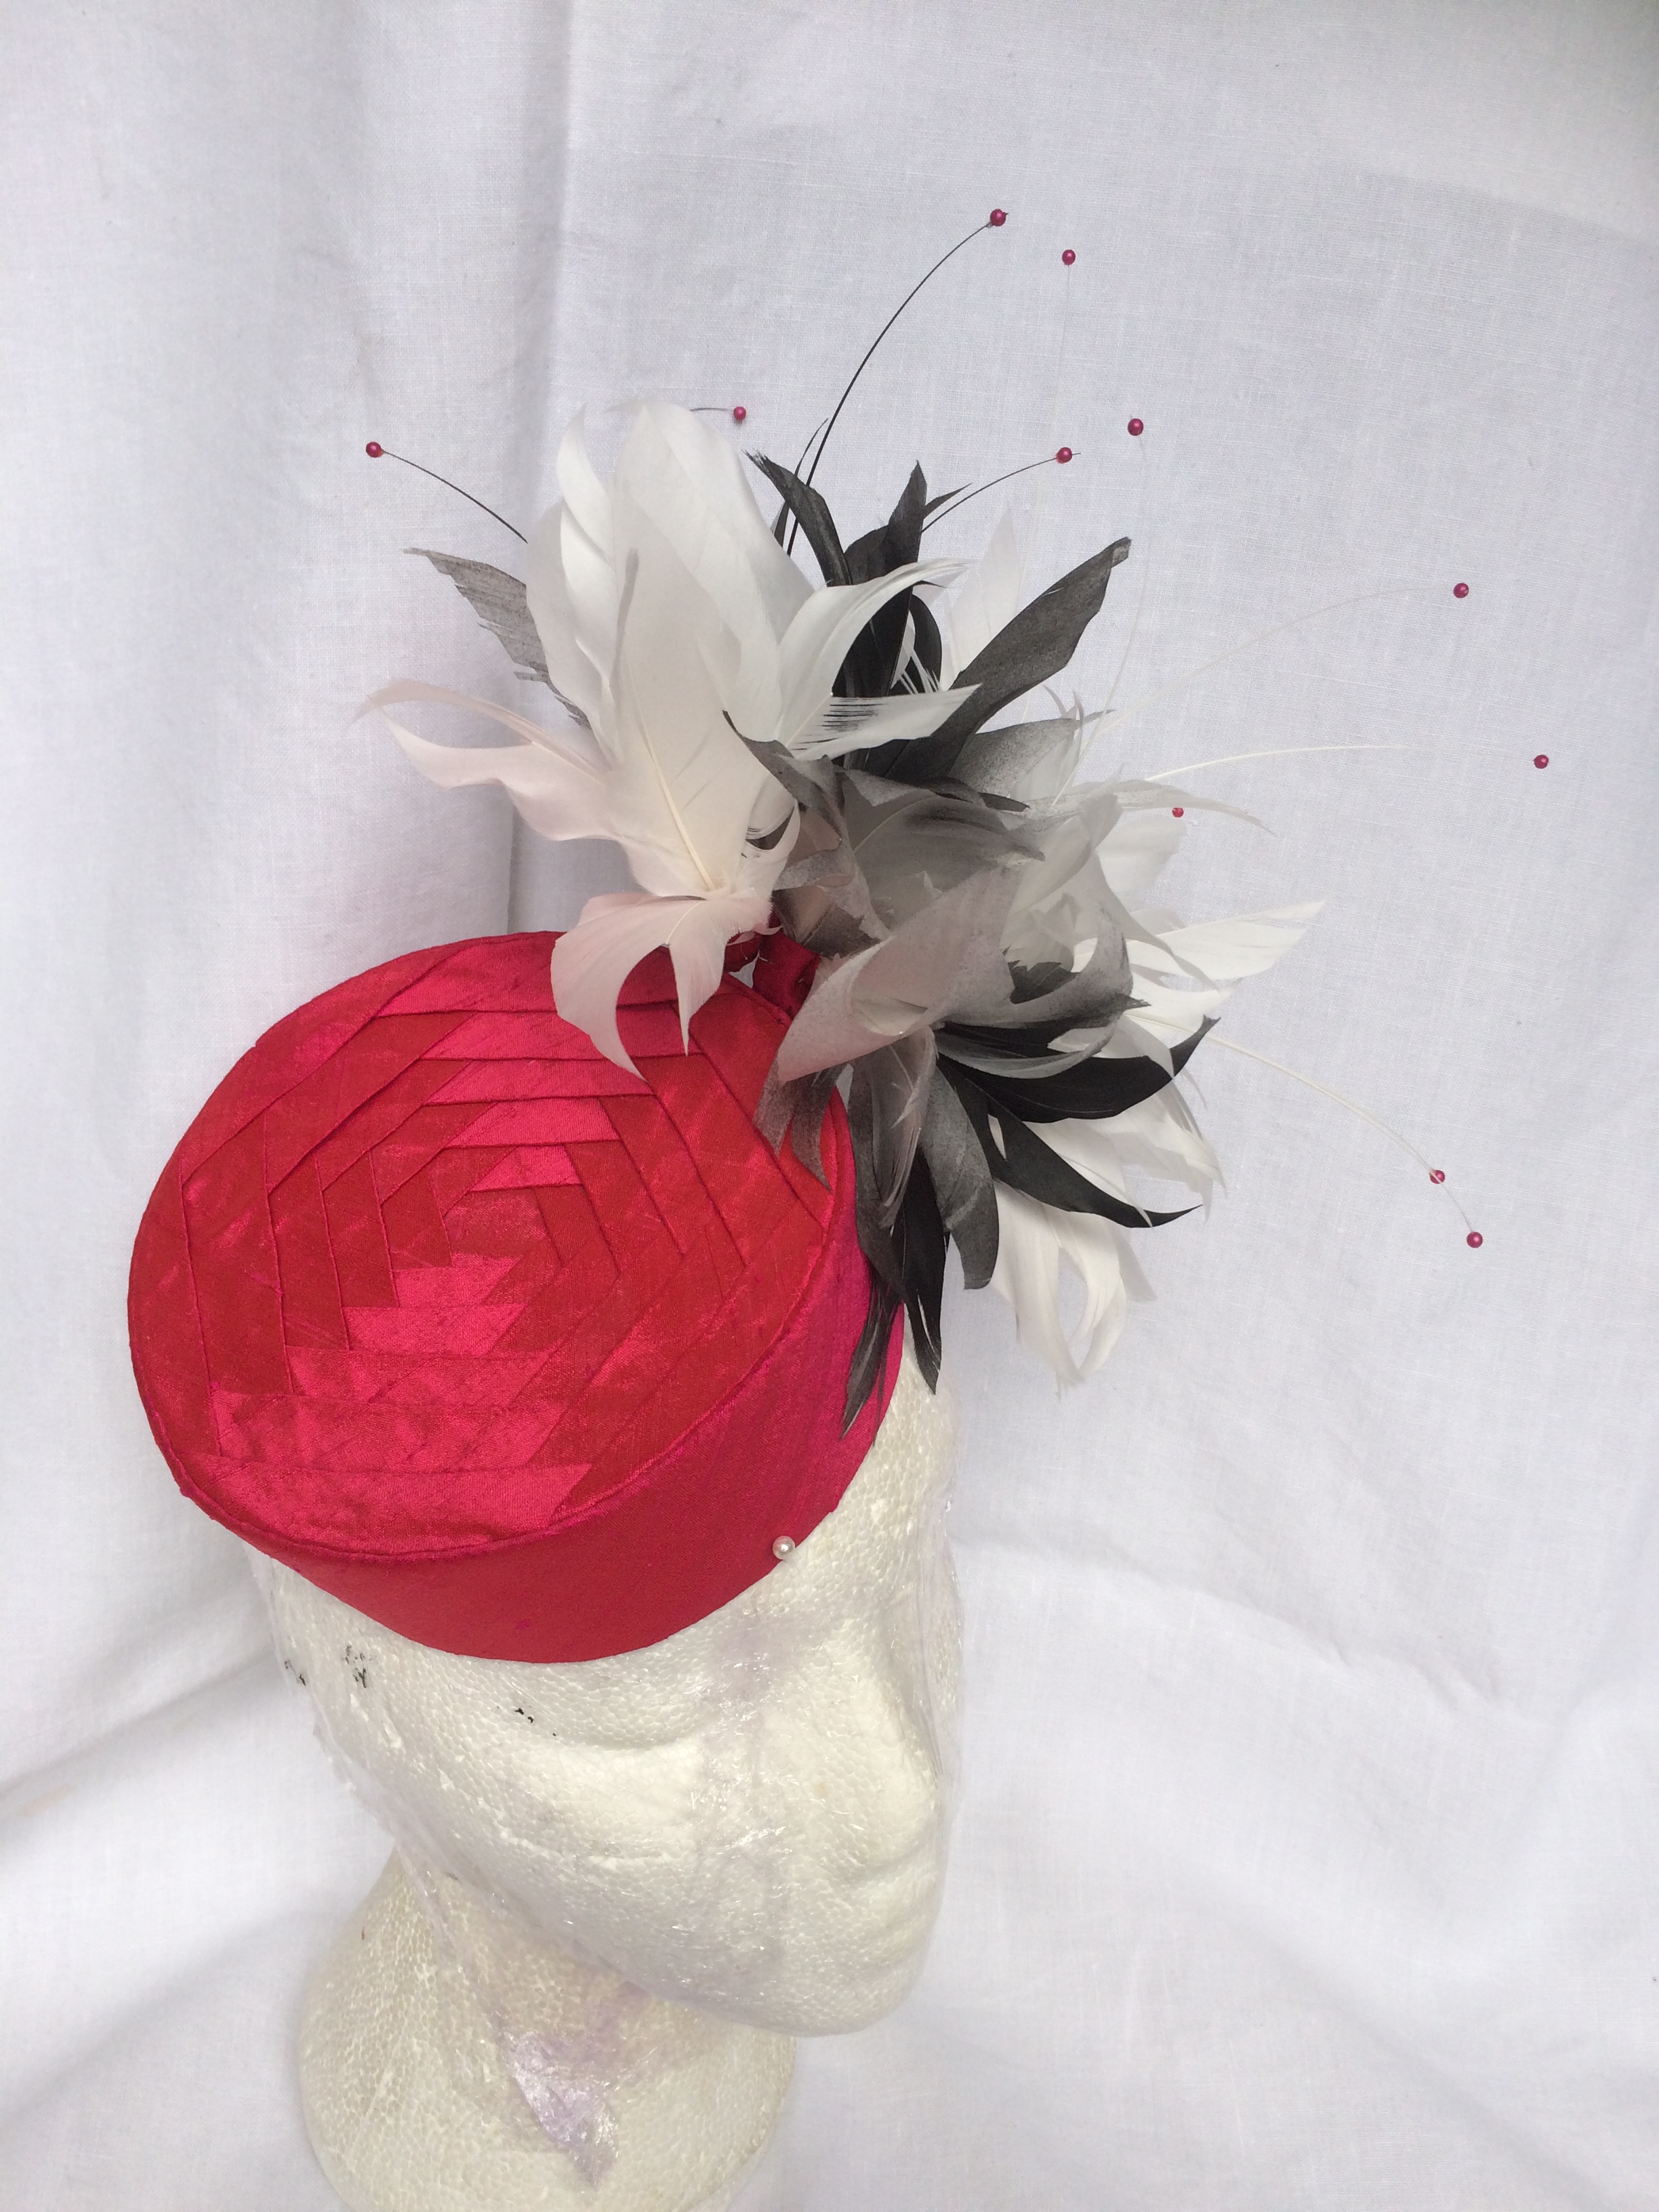
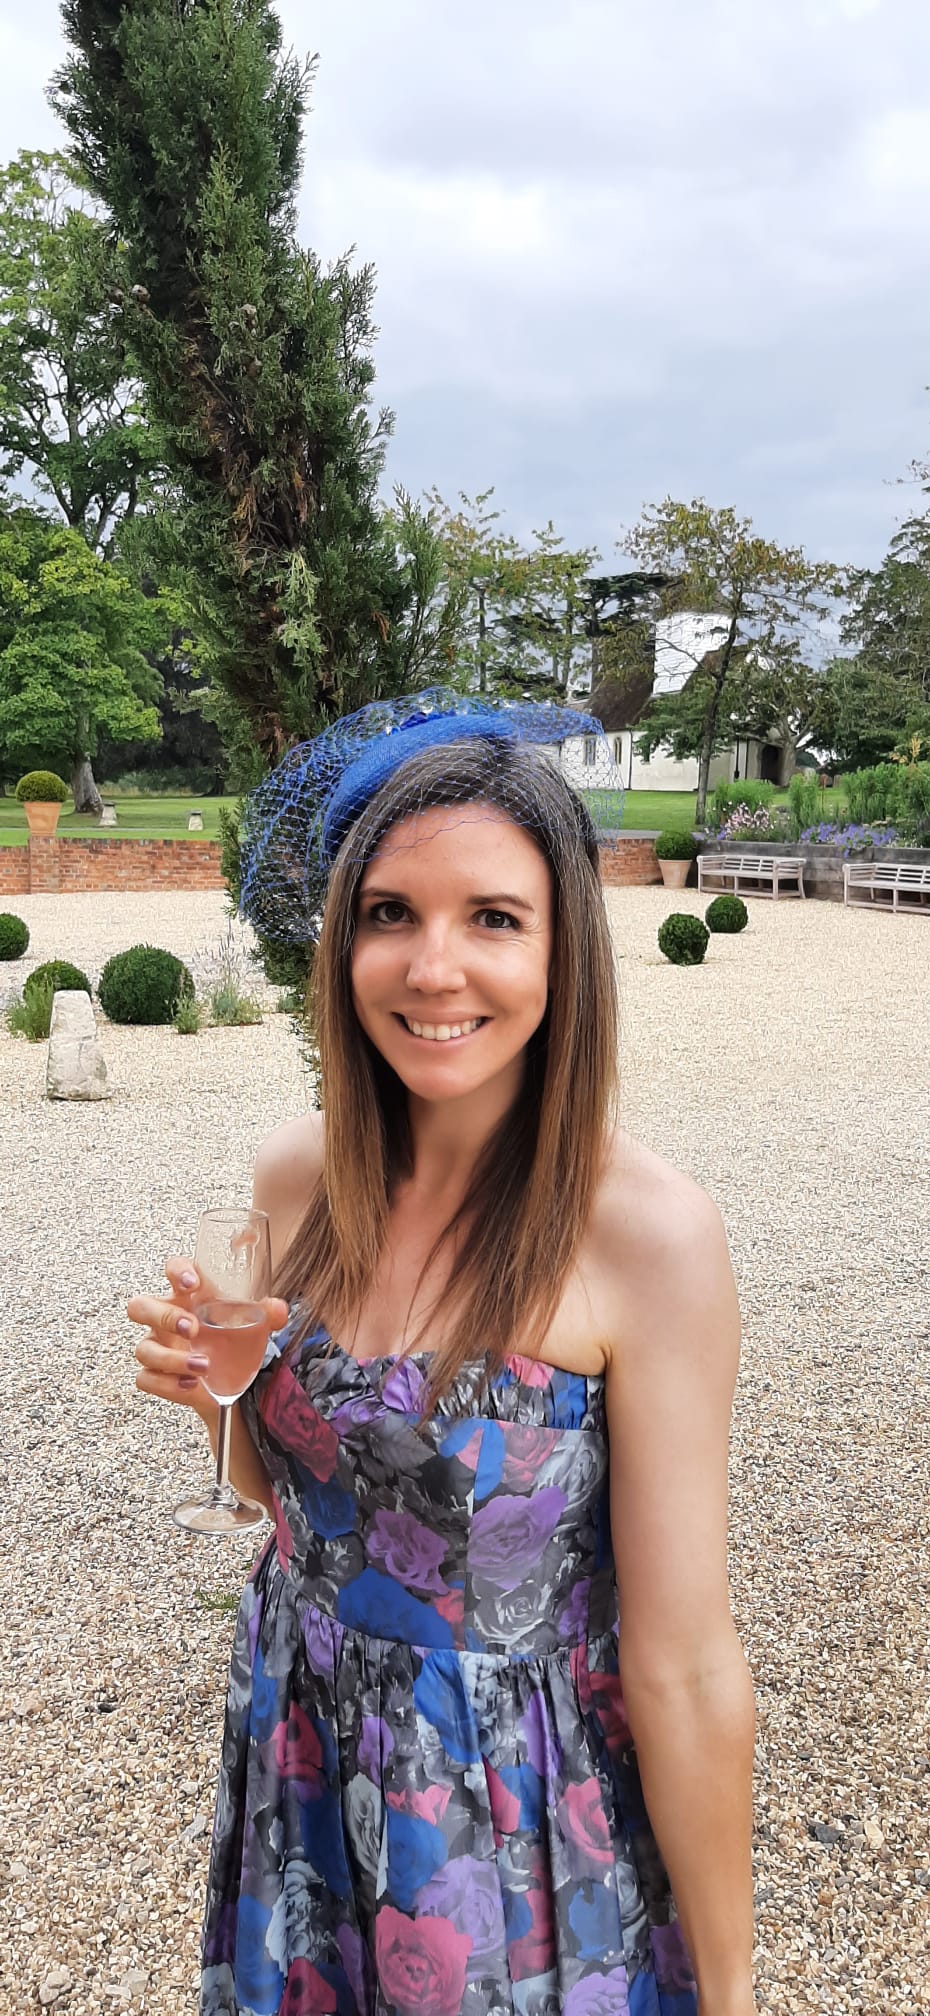
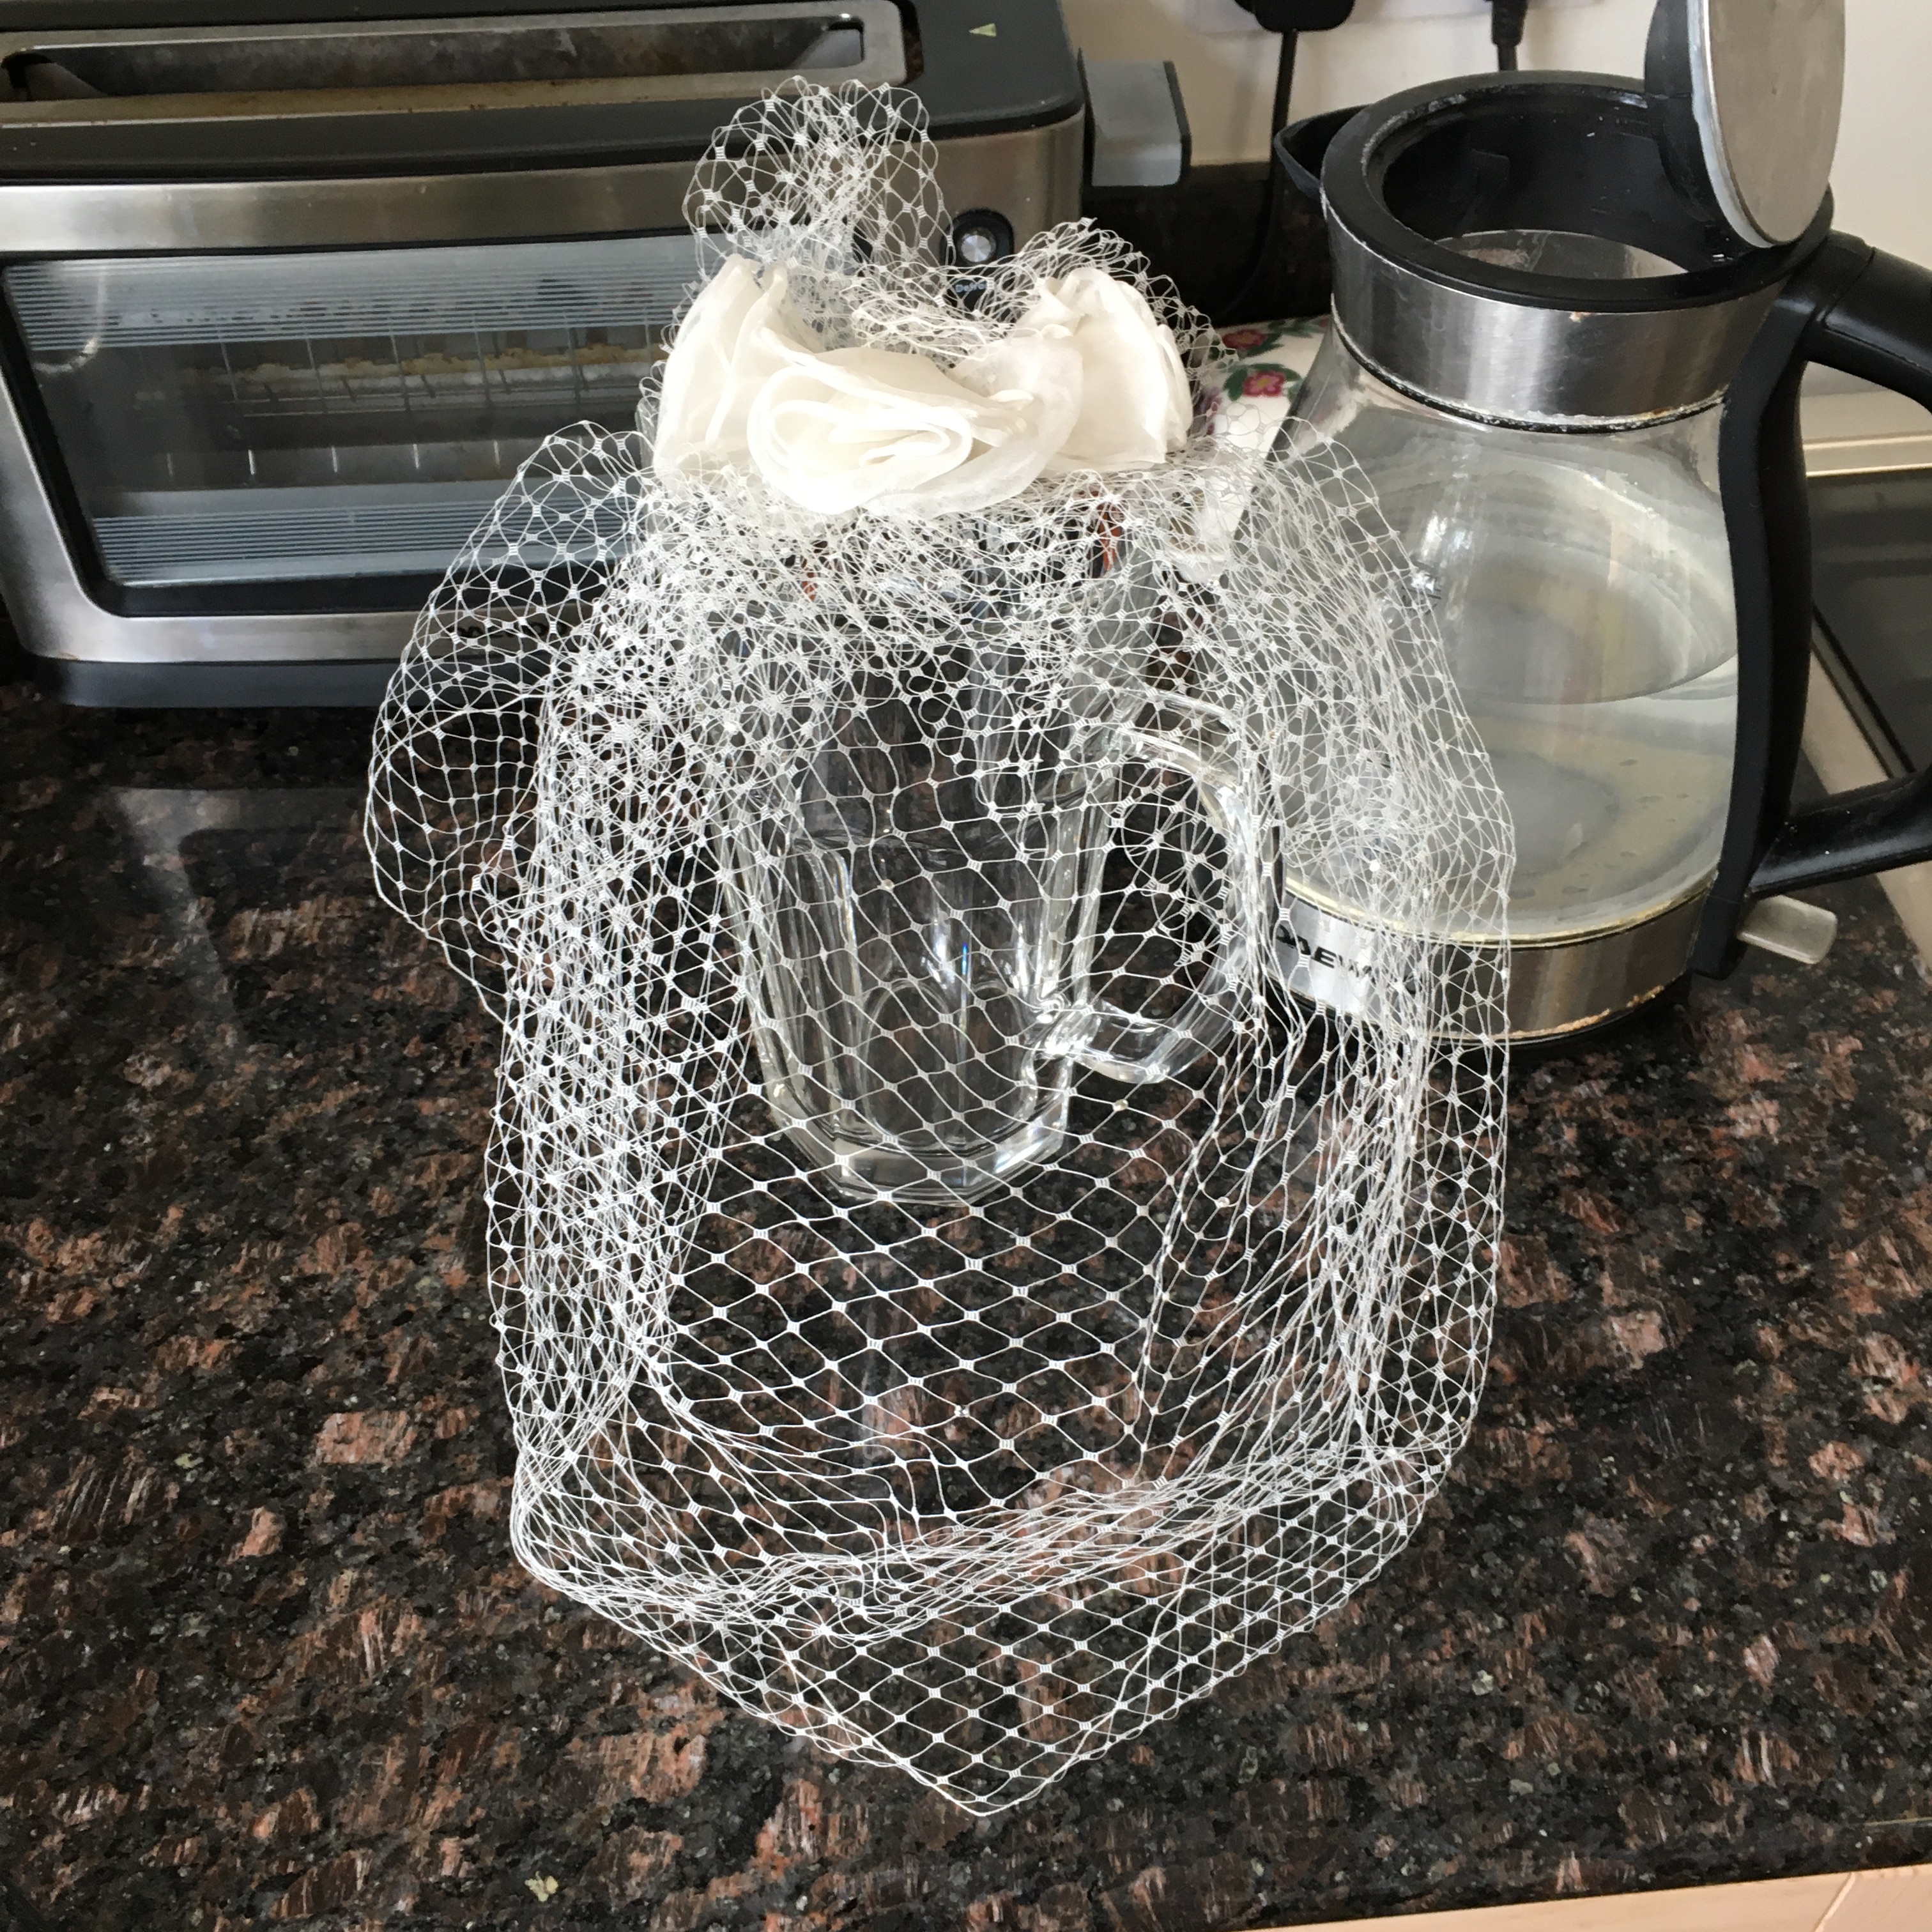
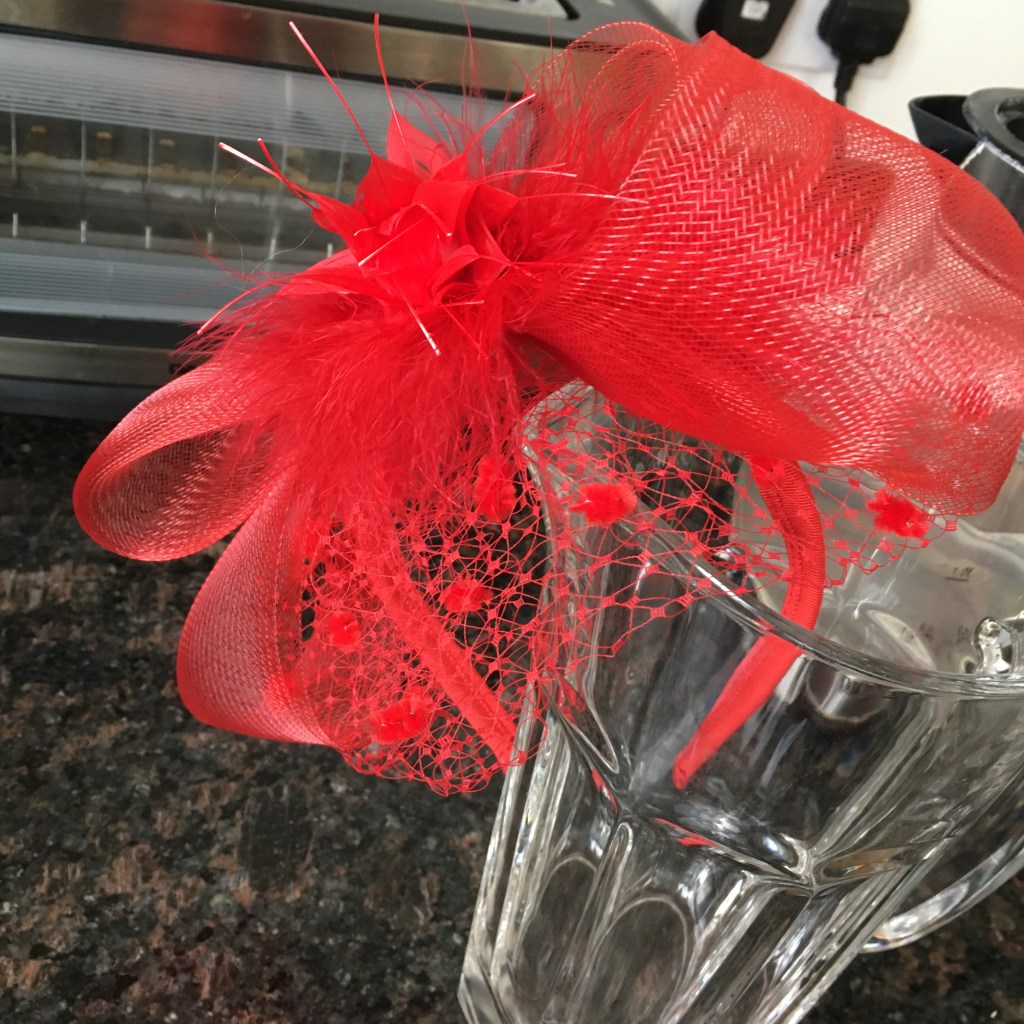
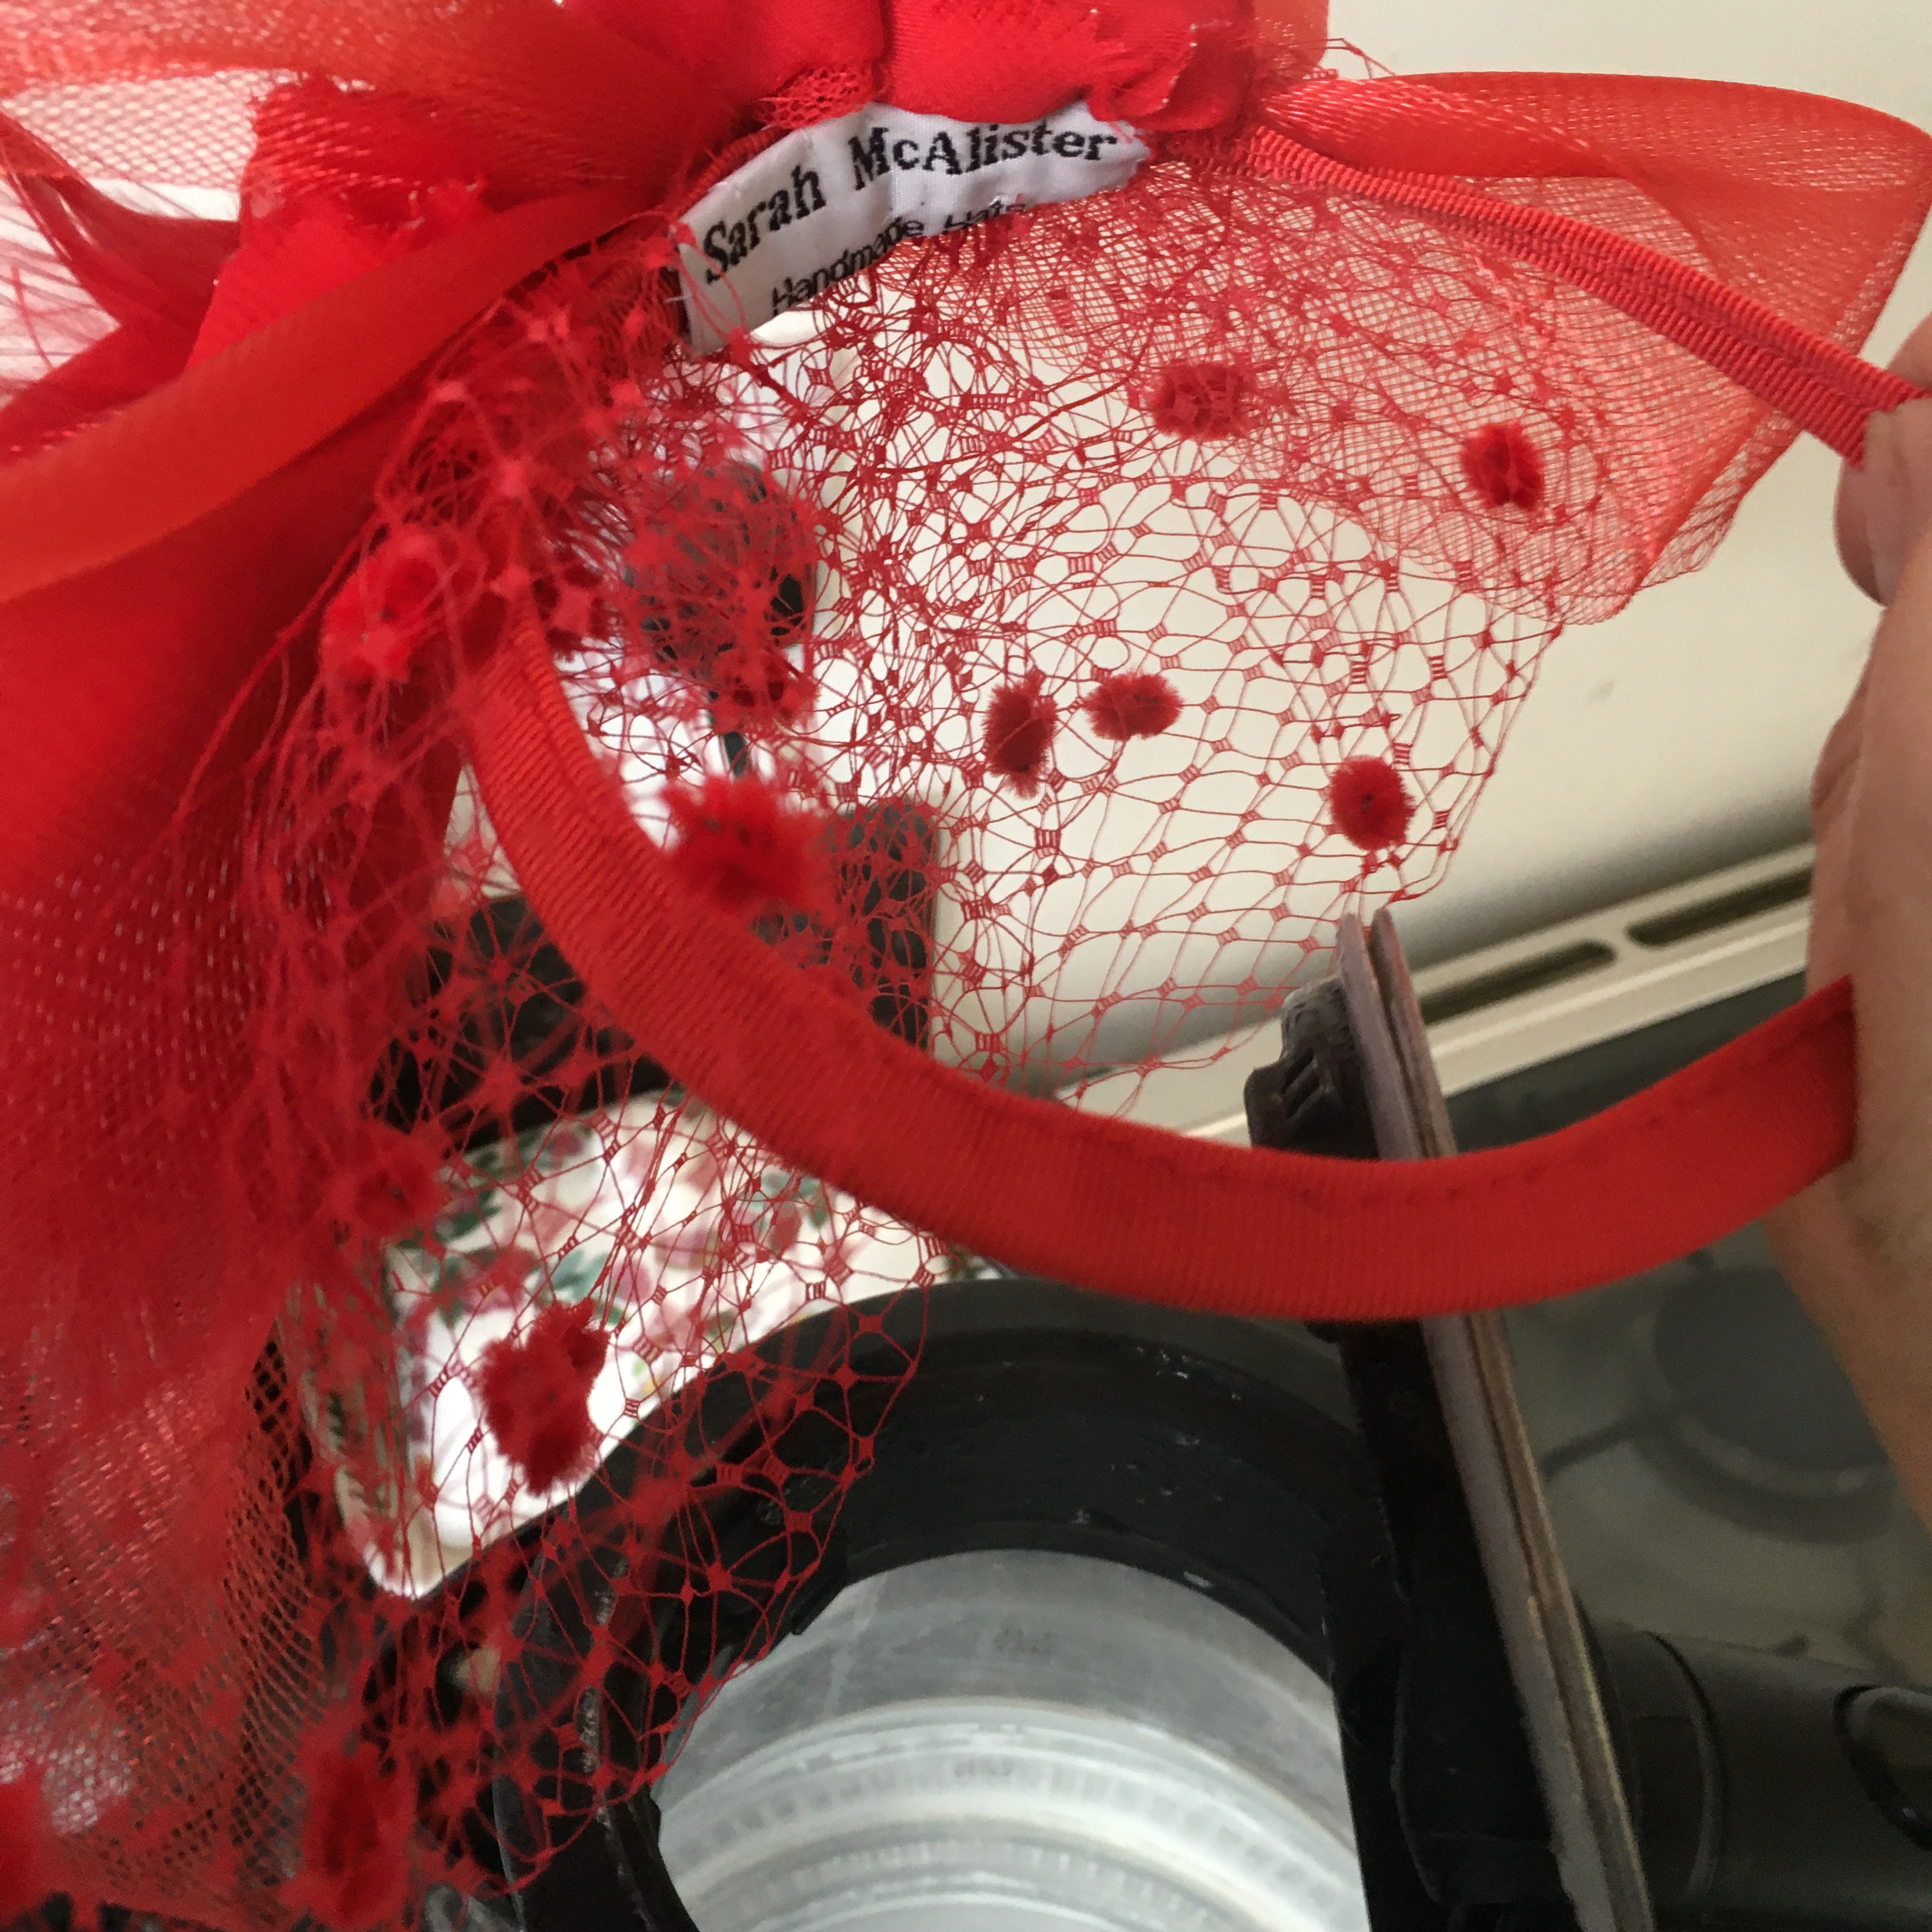
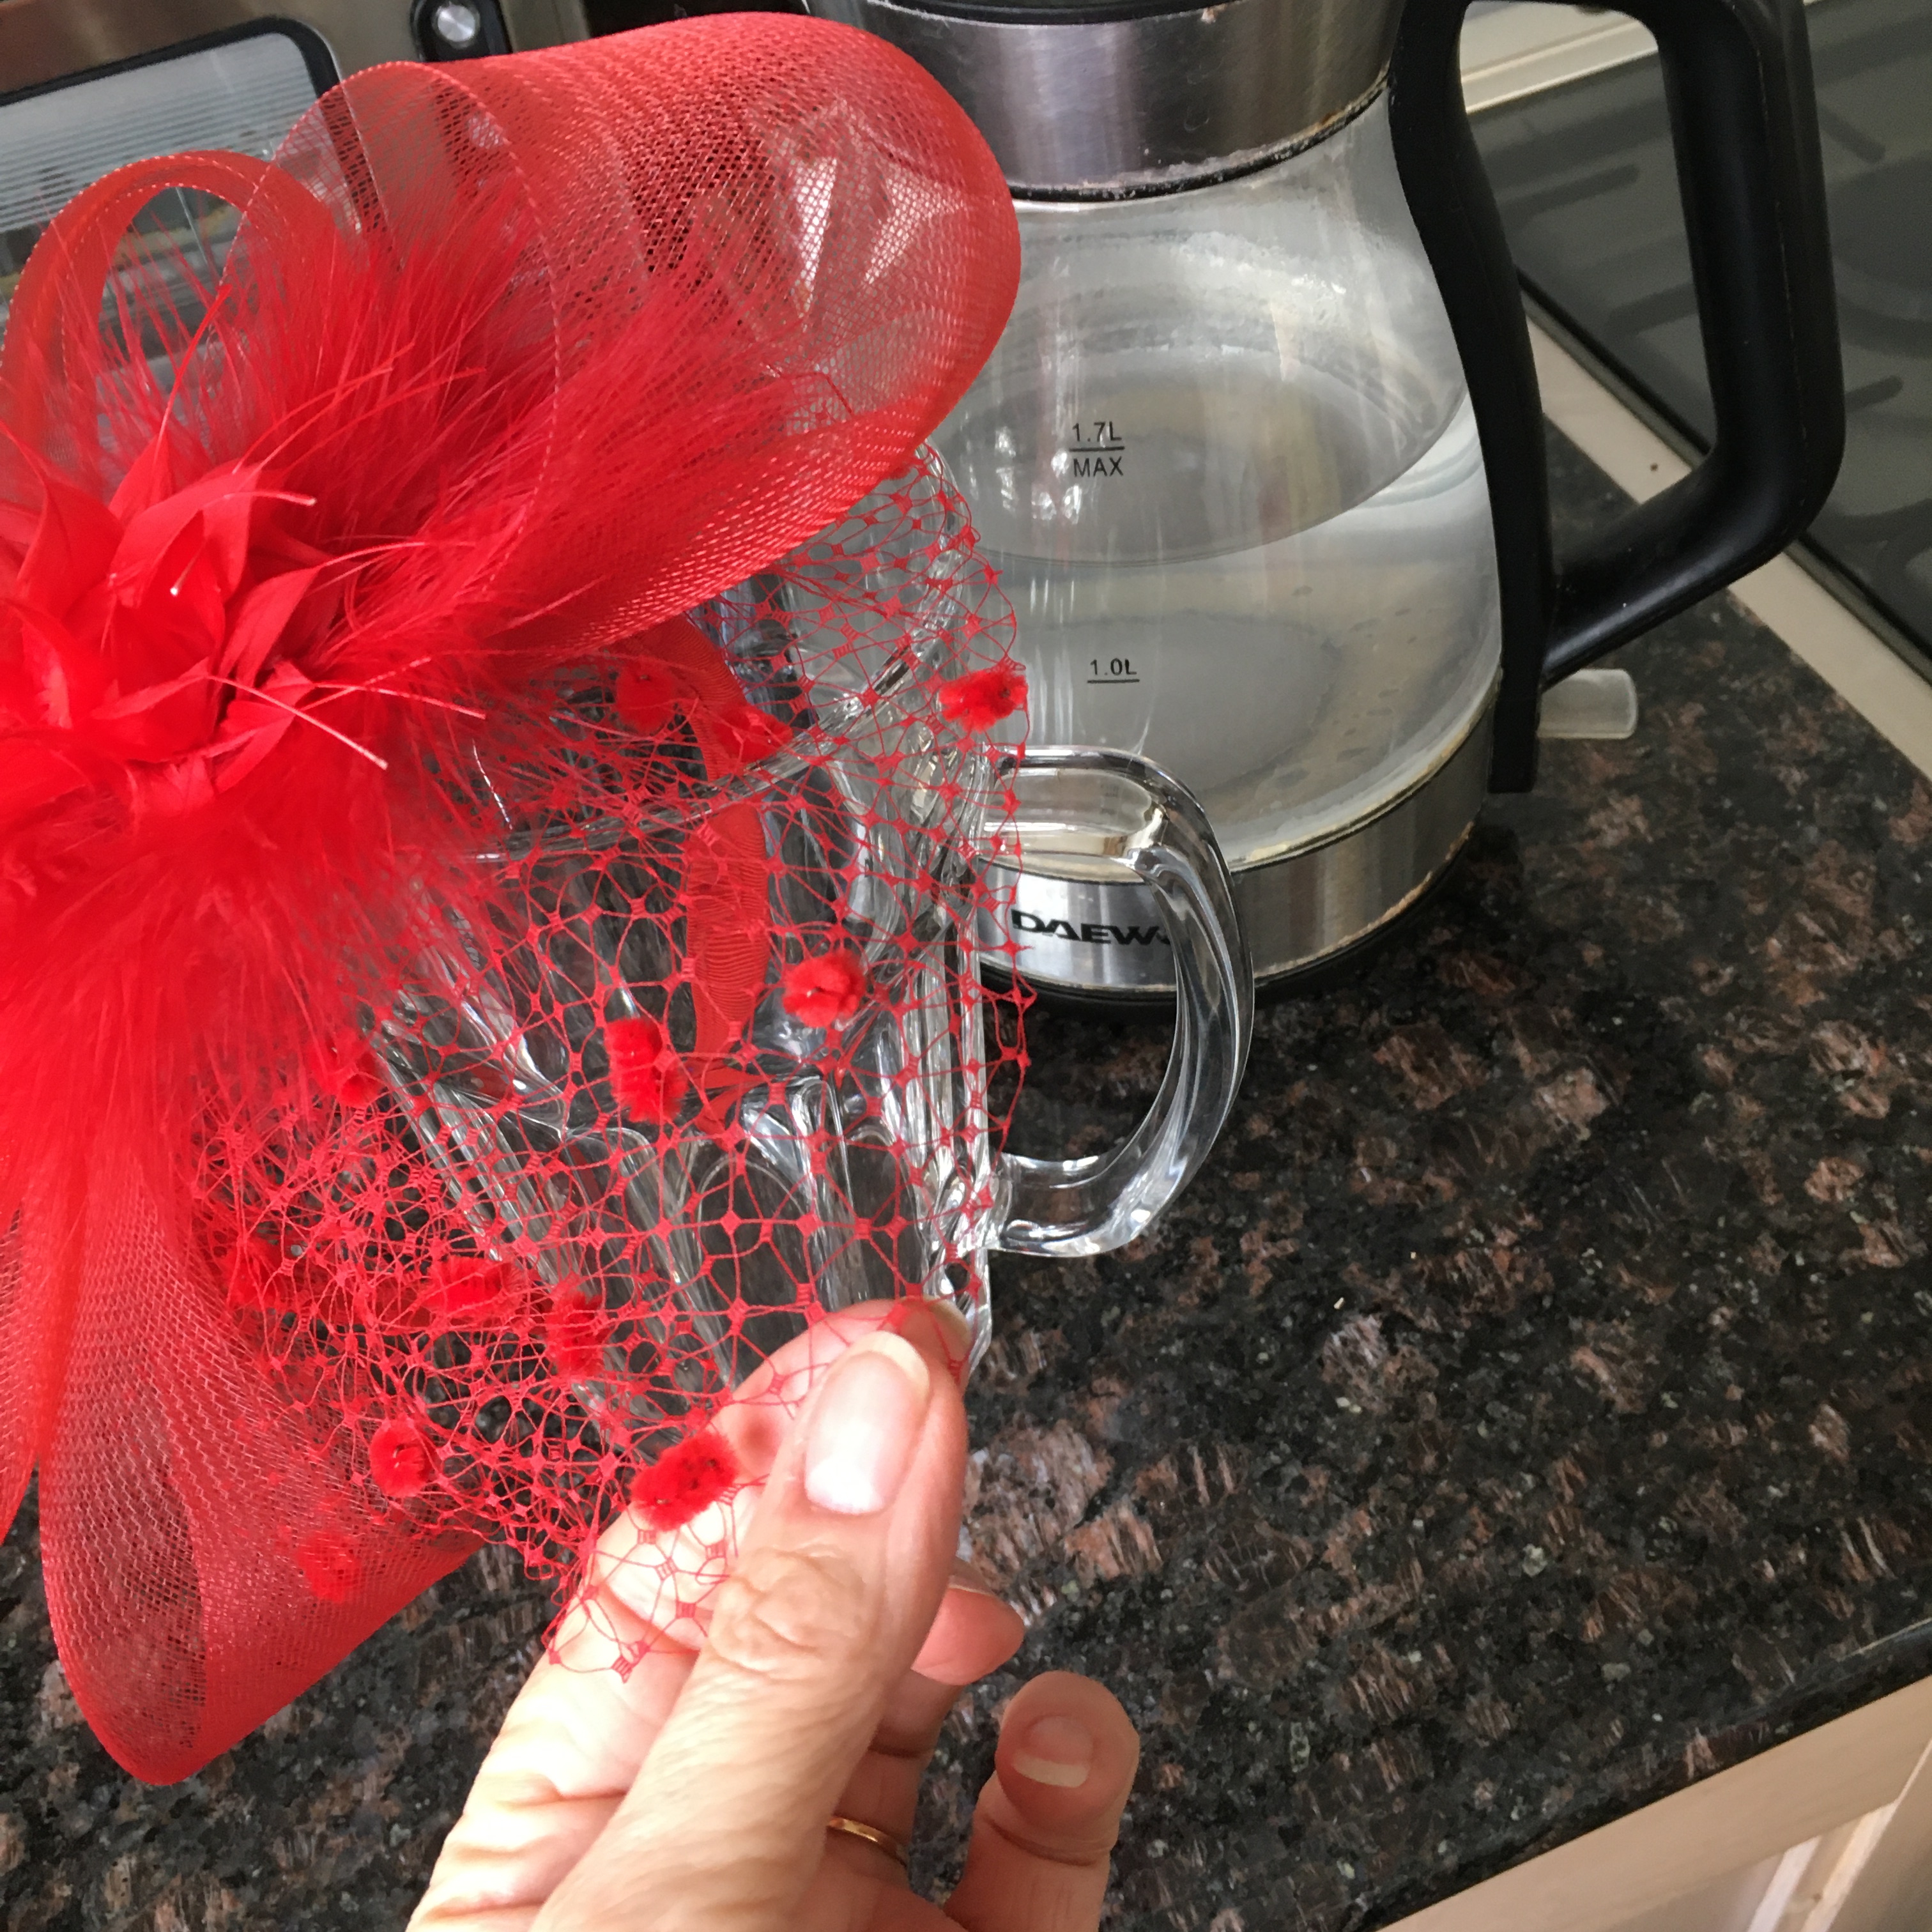
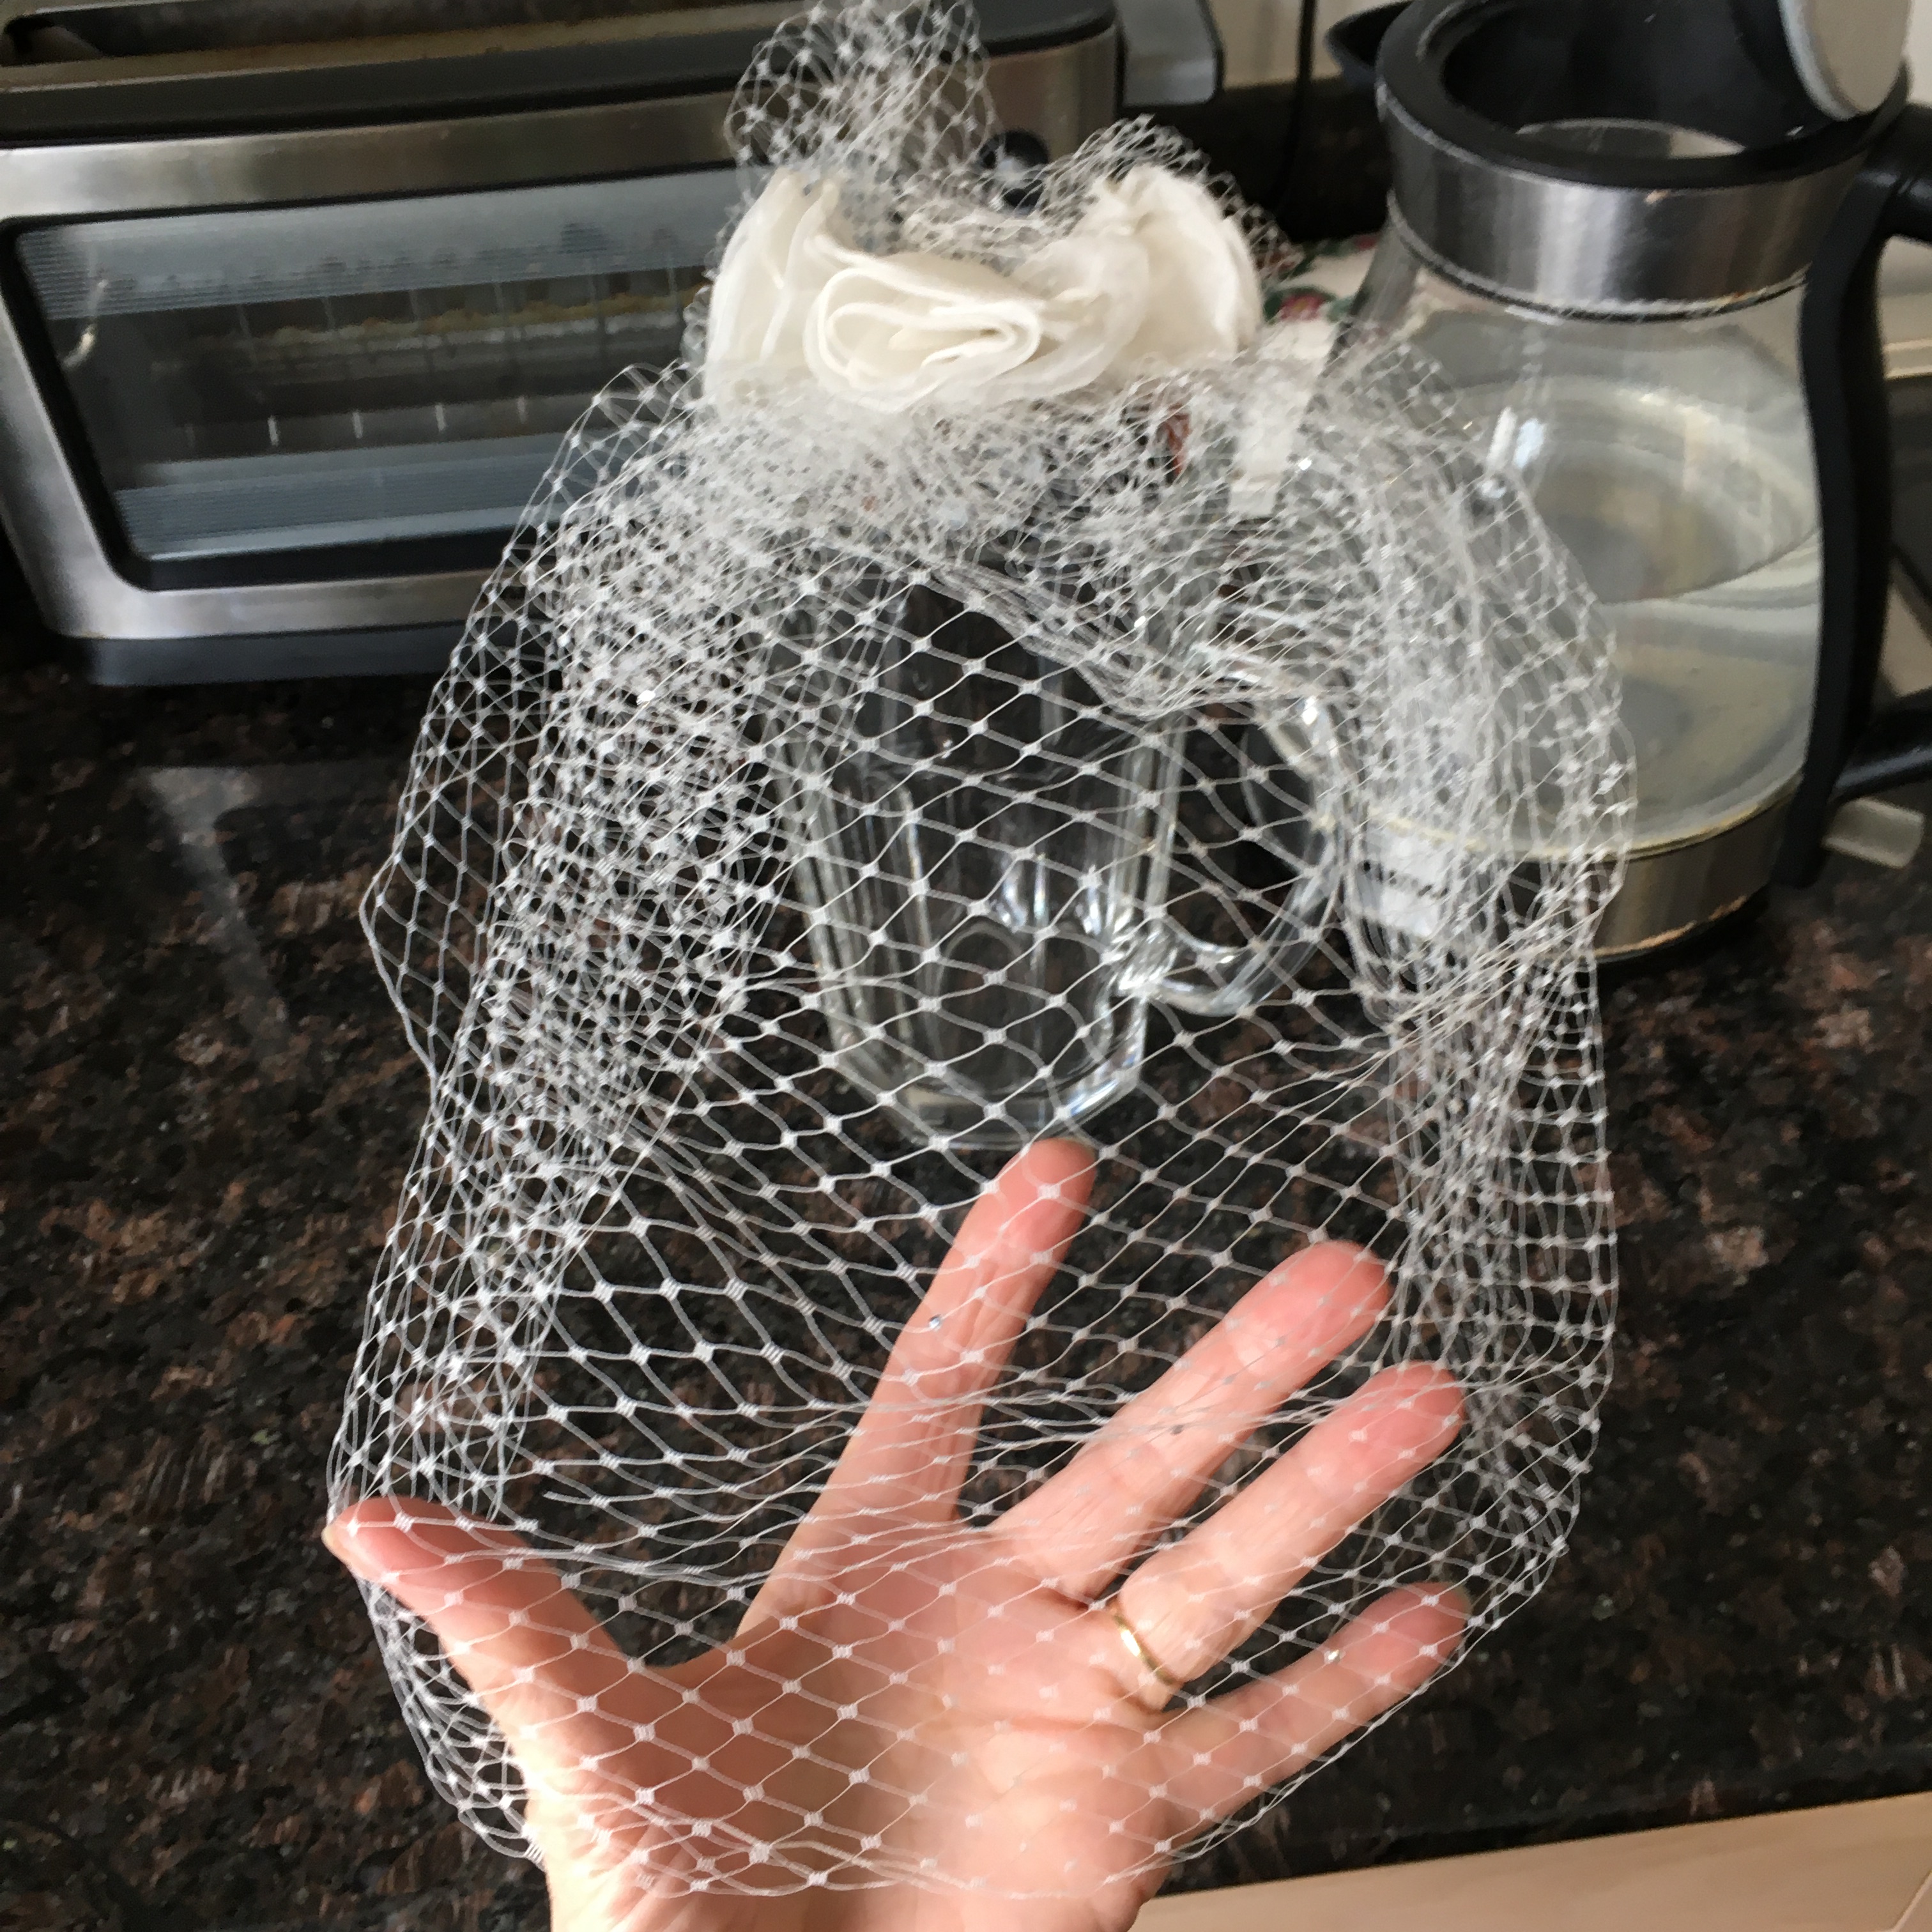
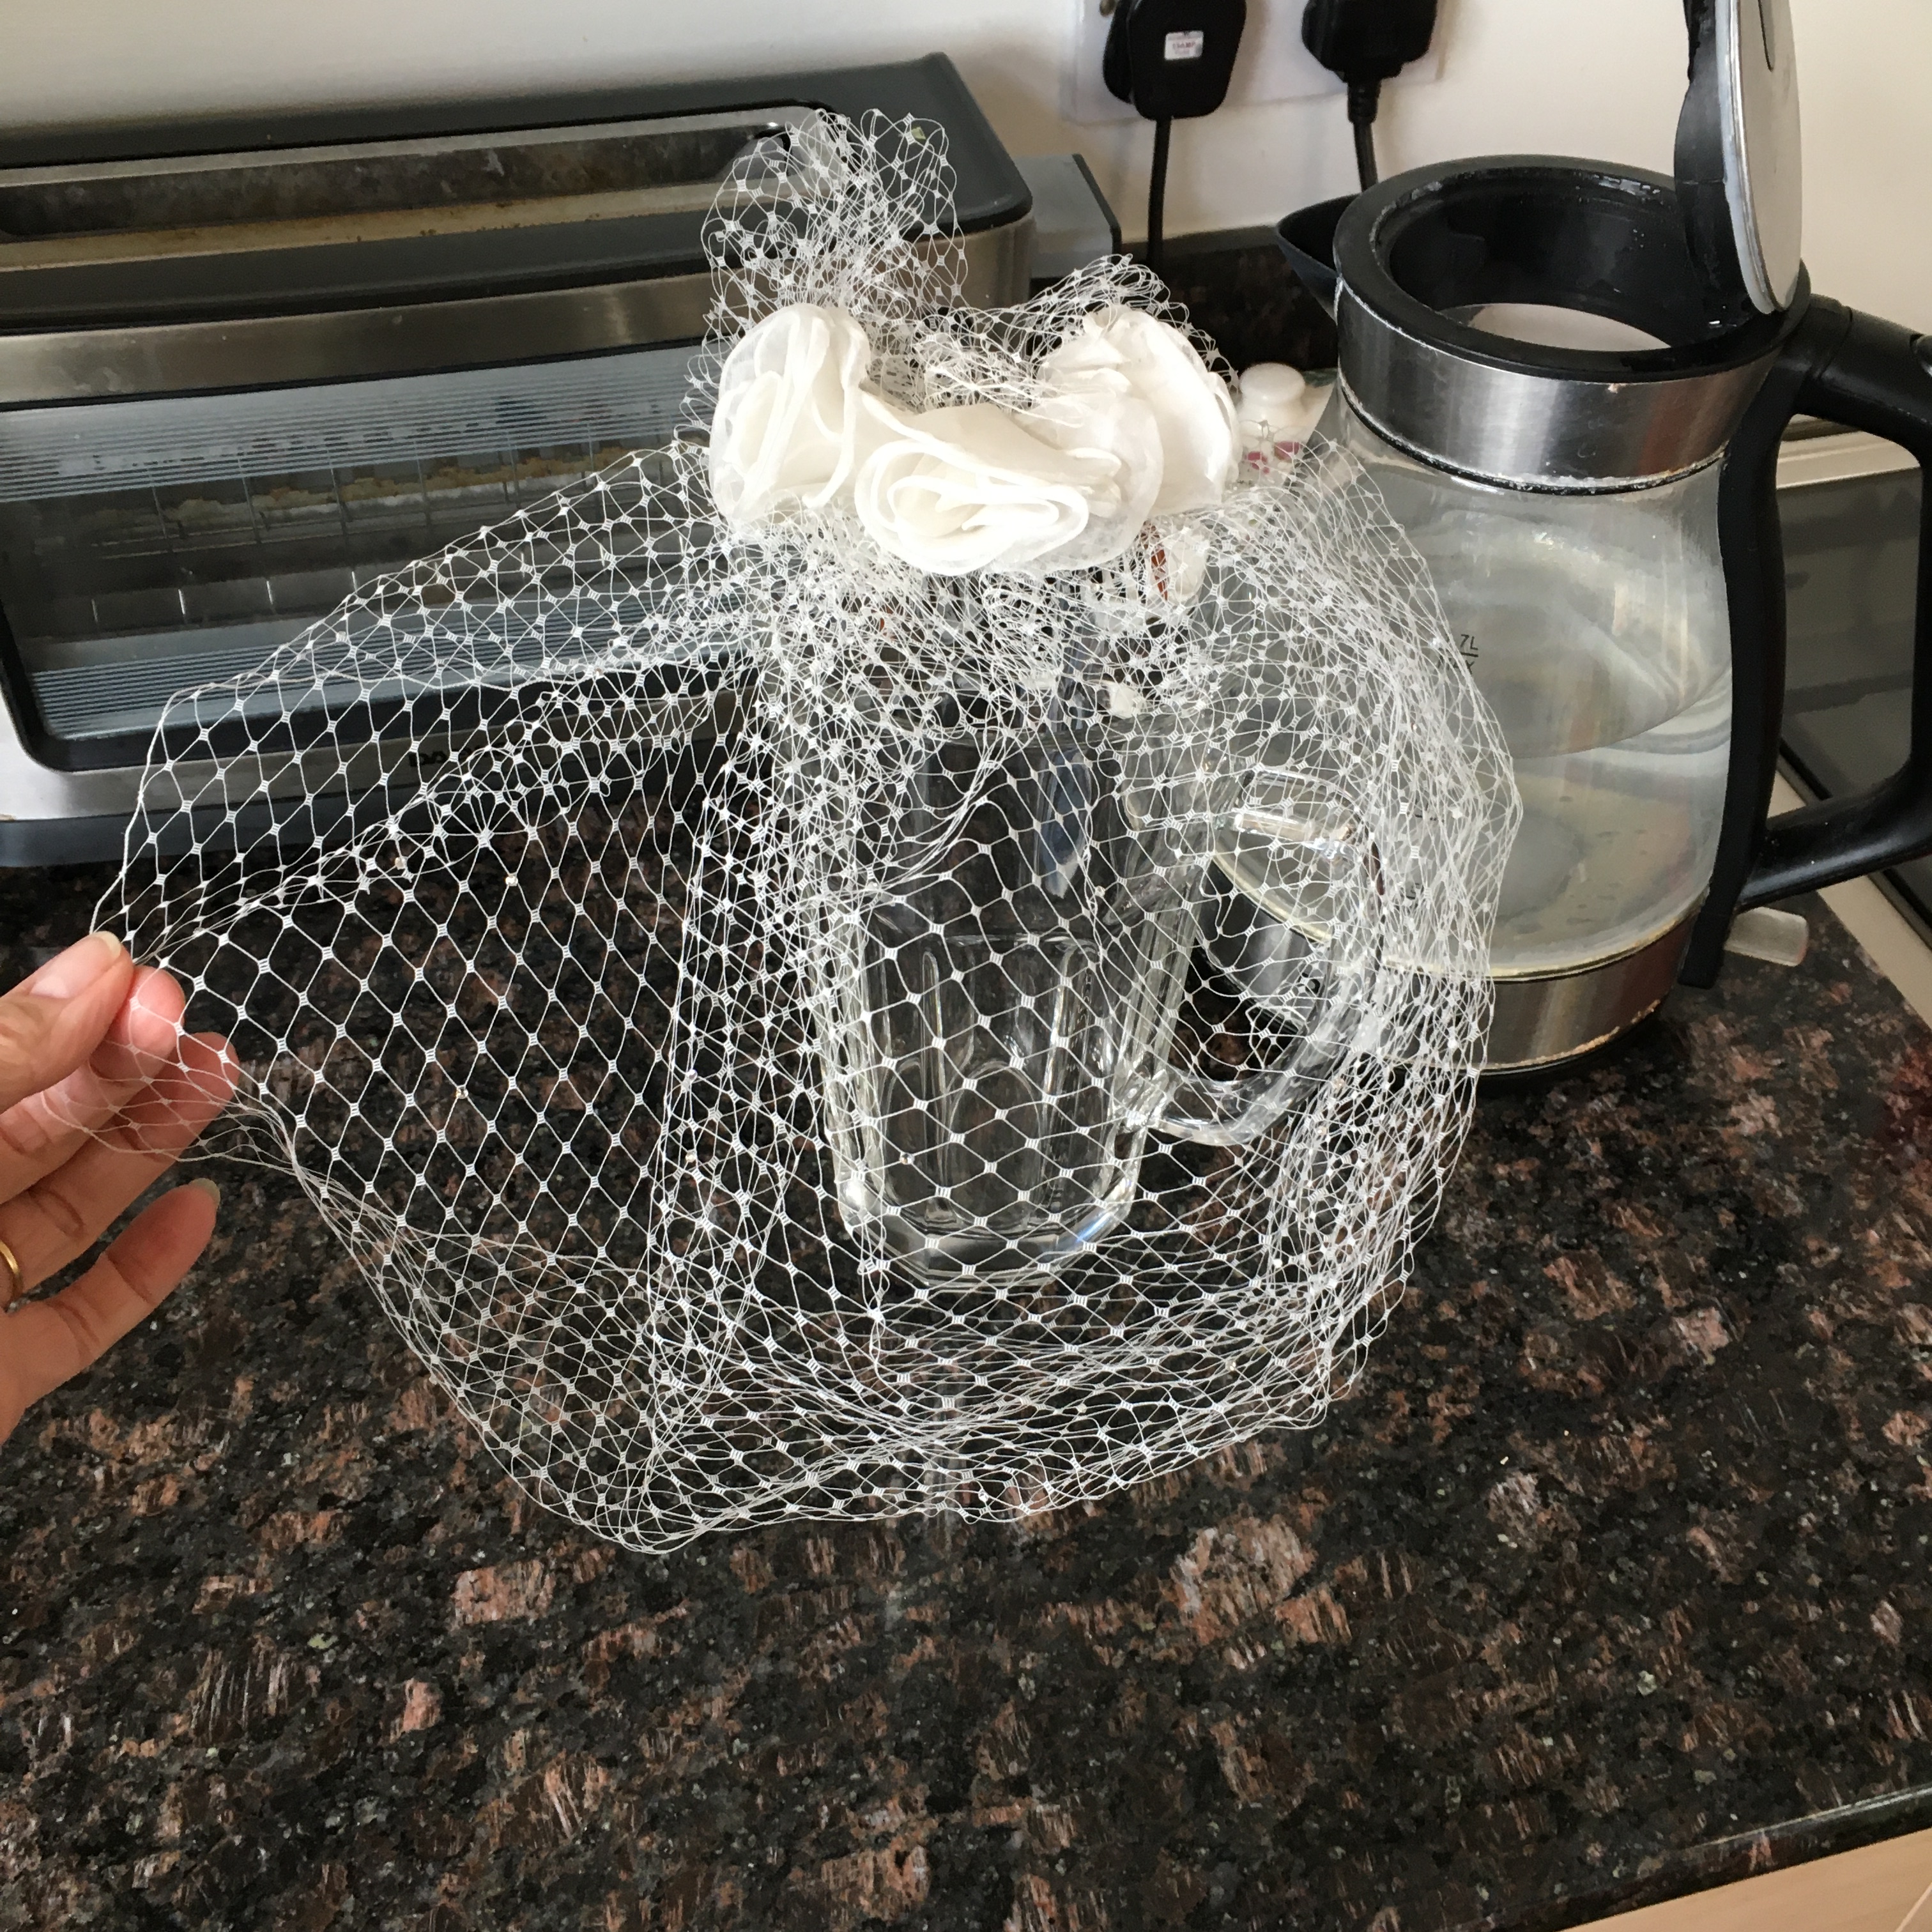
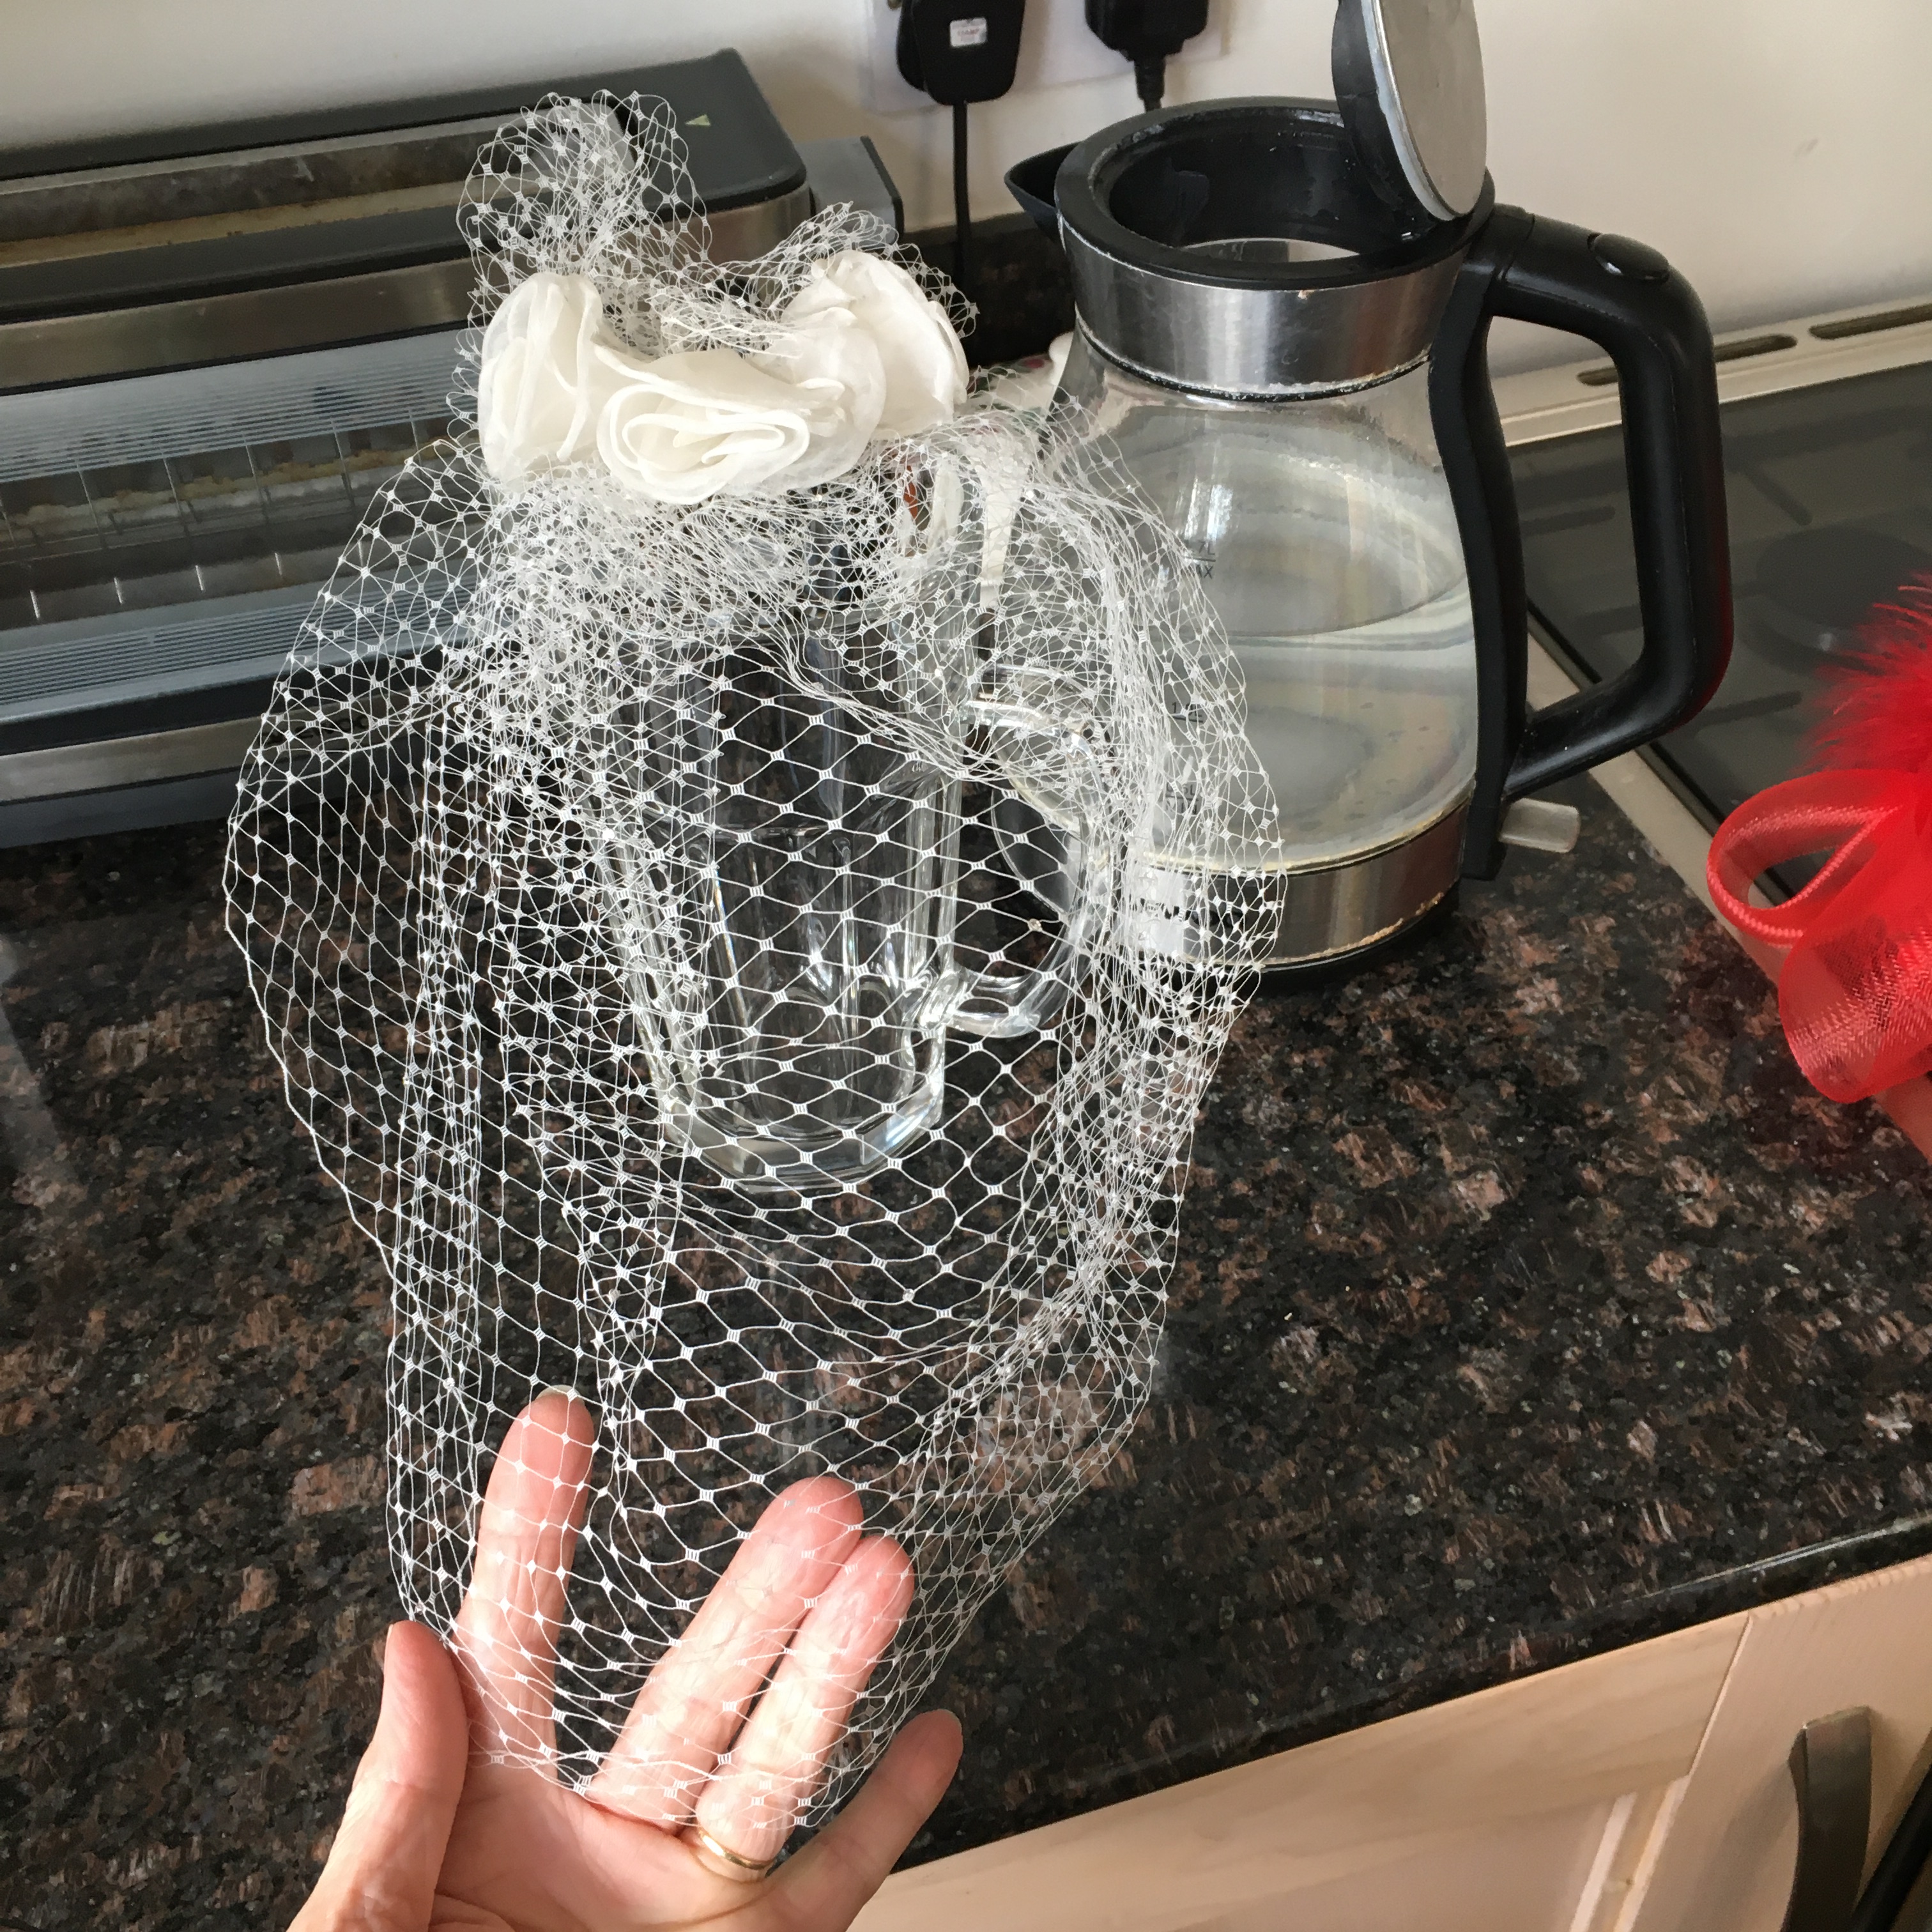
If your hat looks a bit sad or smells a bit musty when it’s unpacked from storage for your special day, then here’s an easy way to help perk it up using a bit of steam. Shown here are one of my bridal veils (with diamanté and hand rolled silk organdie roses) and a little red fascinator.

Before you begin, take care not to have any jewellery on (such as rings or bracelets) that may catch in the veil or feathers. Veil and feathers are quite fragile. They will withstand a bit of a tweak, but try to be as gentle as you can.

First, boil an electric kettle while you are unpacking your hat.

WARNING**This bit is hot and you must take care not to burn or scald yourself**

Then, once the kettle has boiled and itself switched off, but while the water is still steaming, open the kettle lid, for the steam to escape.

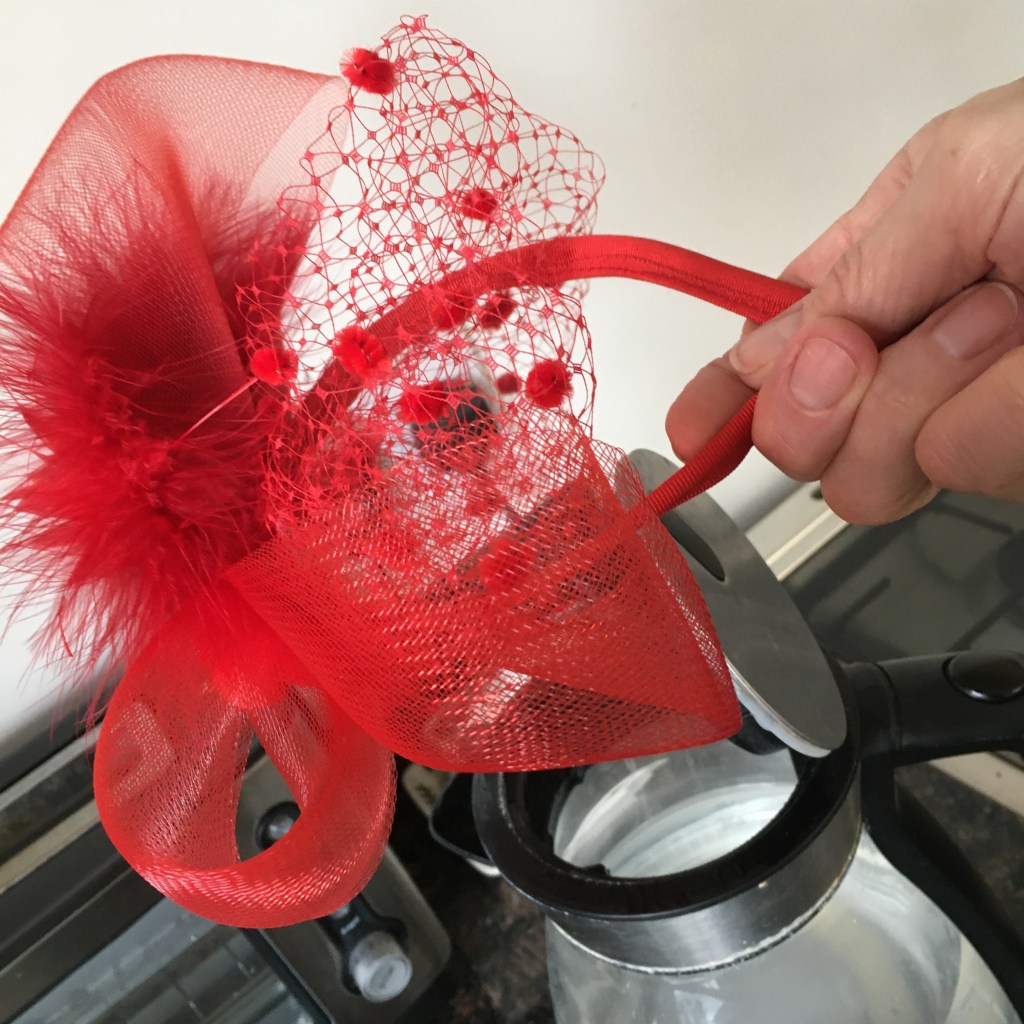
Taking care not to get your fingers, hands or arms in the flow of steam, gently waft just the veil or feathers in the flow of steam.

WARNING**Try not to get the main part of the hat in the steam, as this might alter its shape**

Remove from the steam flow and gently shake the hat, upside down if possible.

Taking care to be very gentle you may need to guide or tweak the veil or feathers into a nice shape.

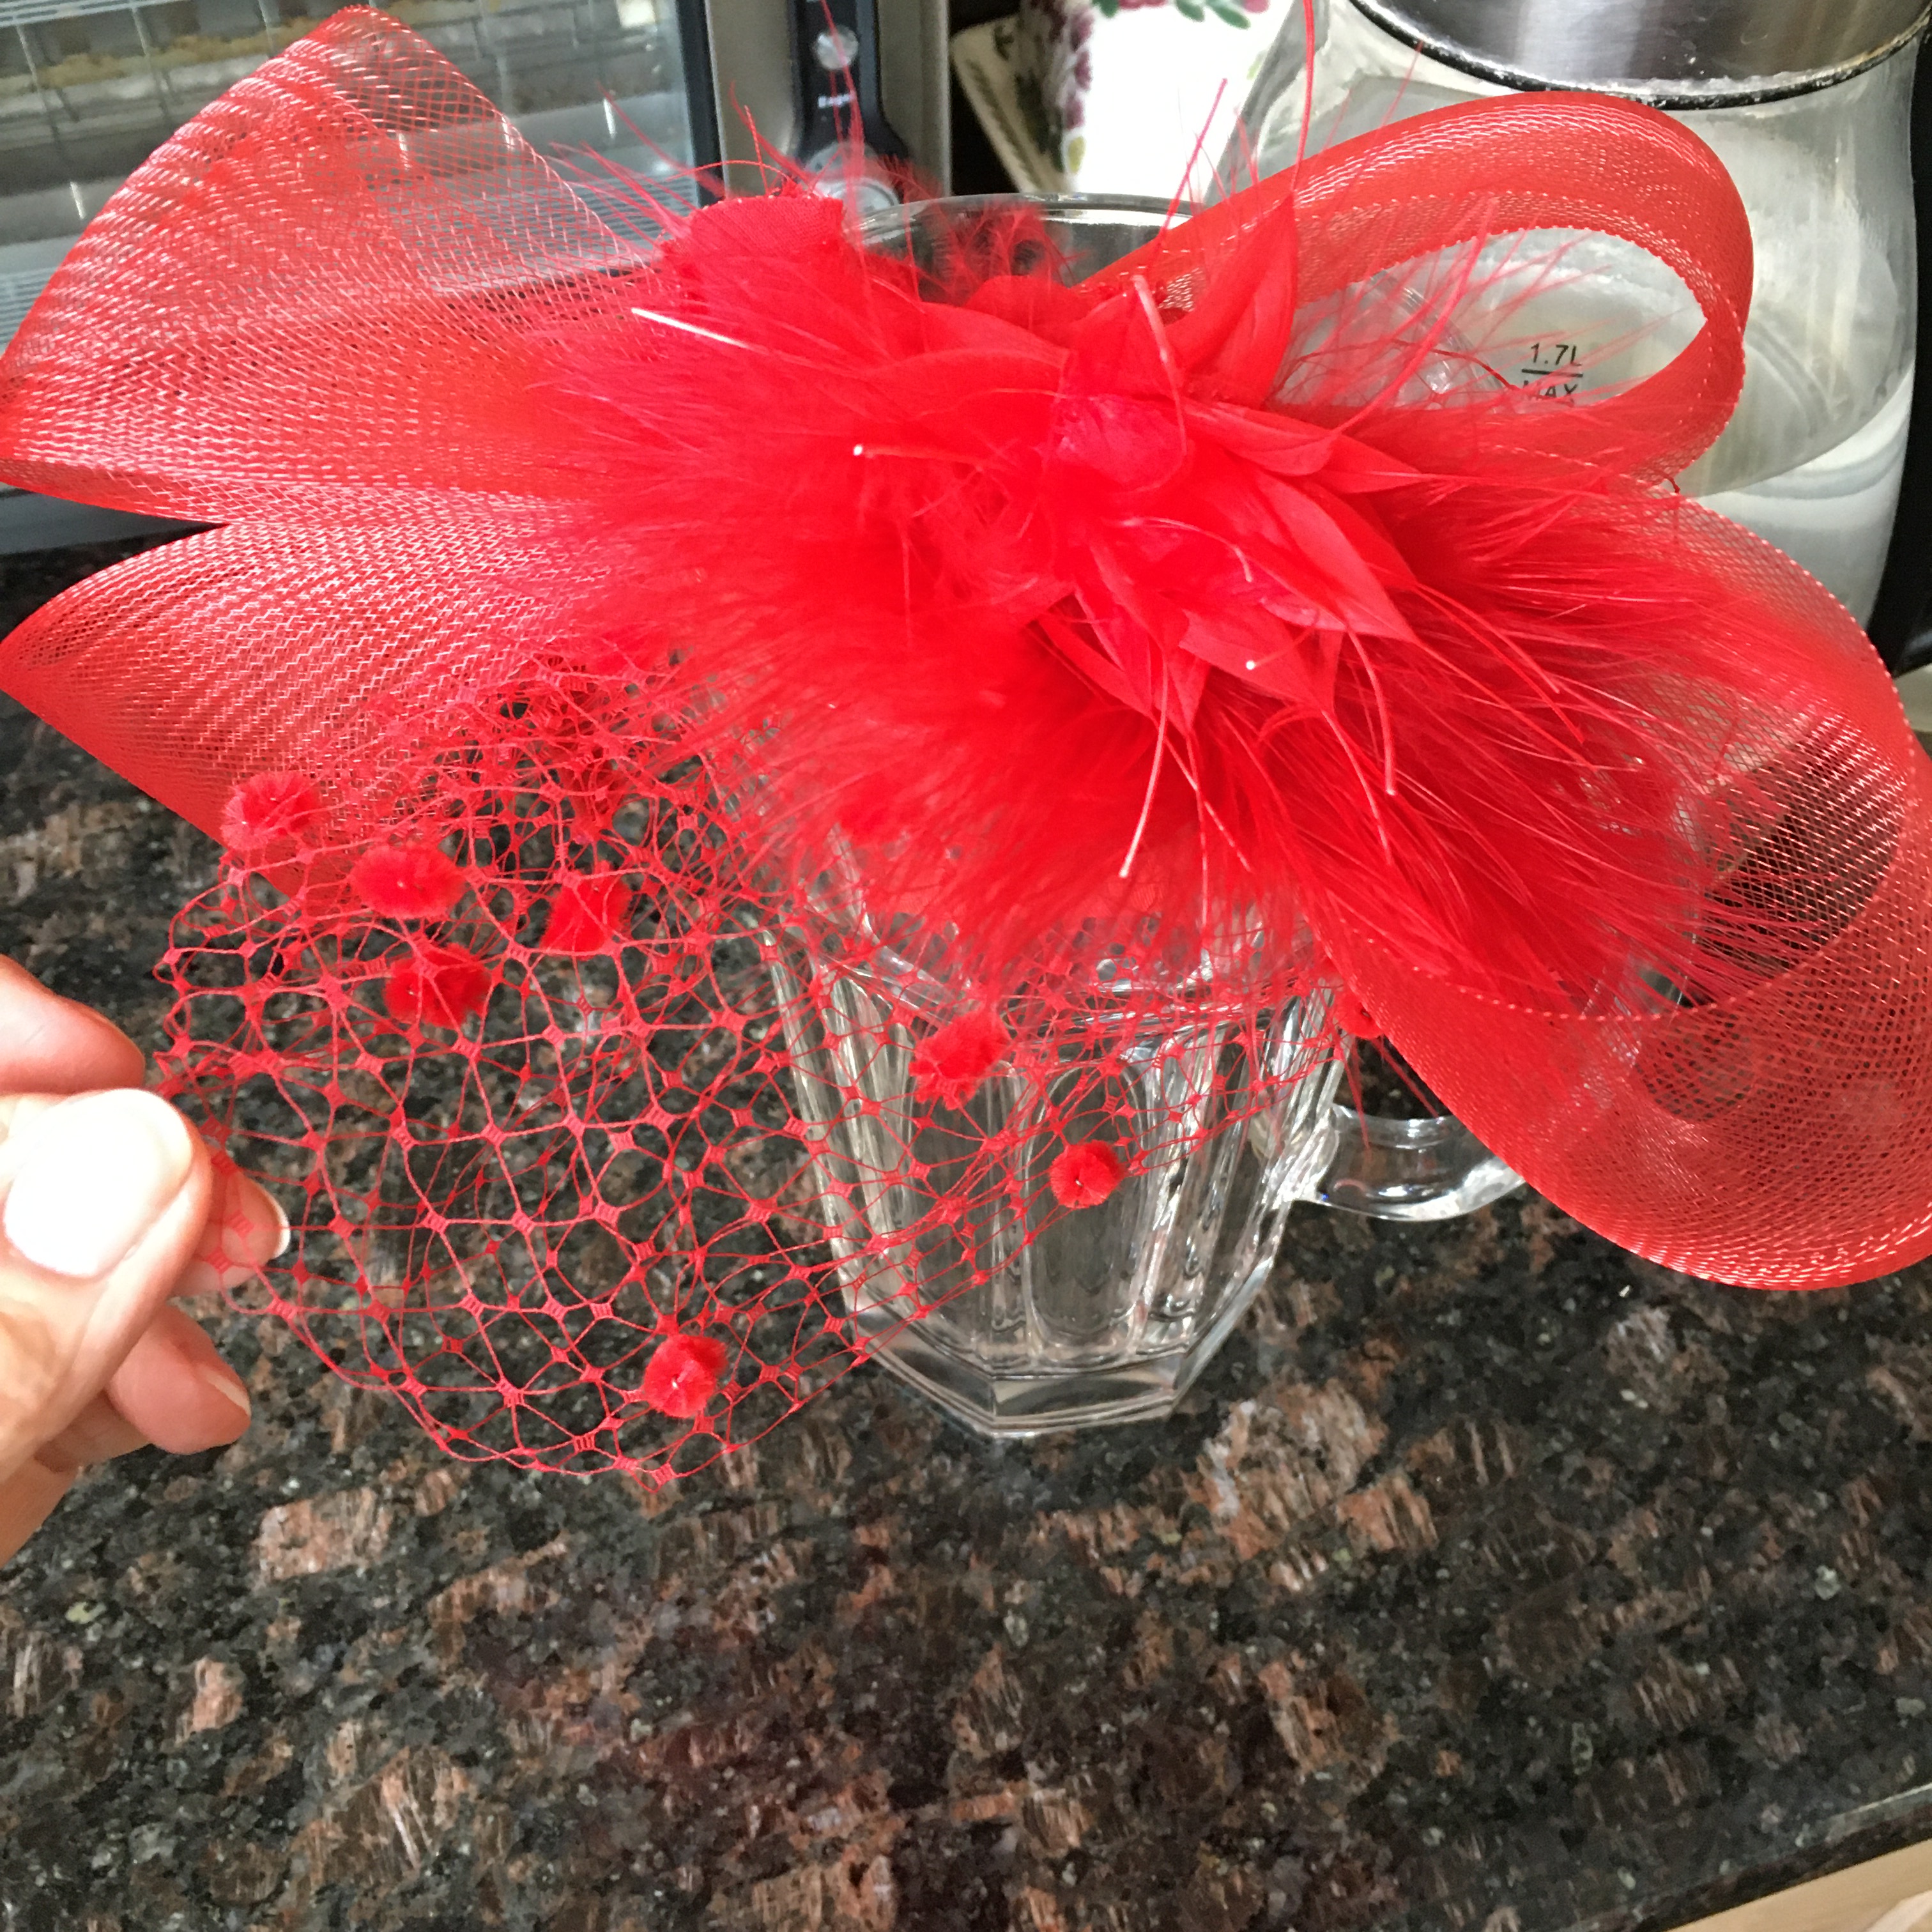
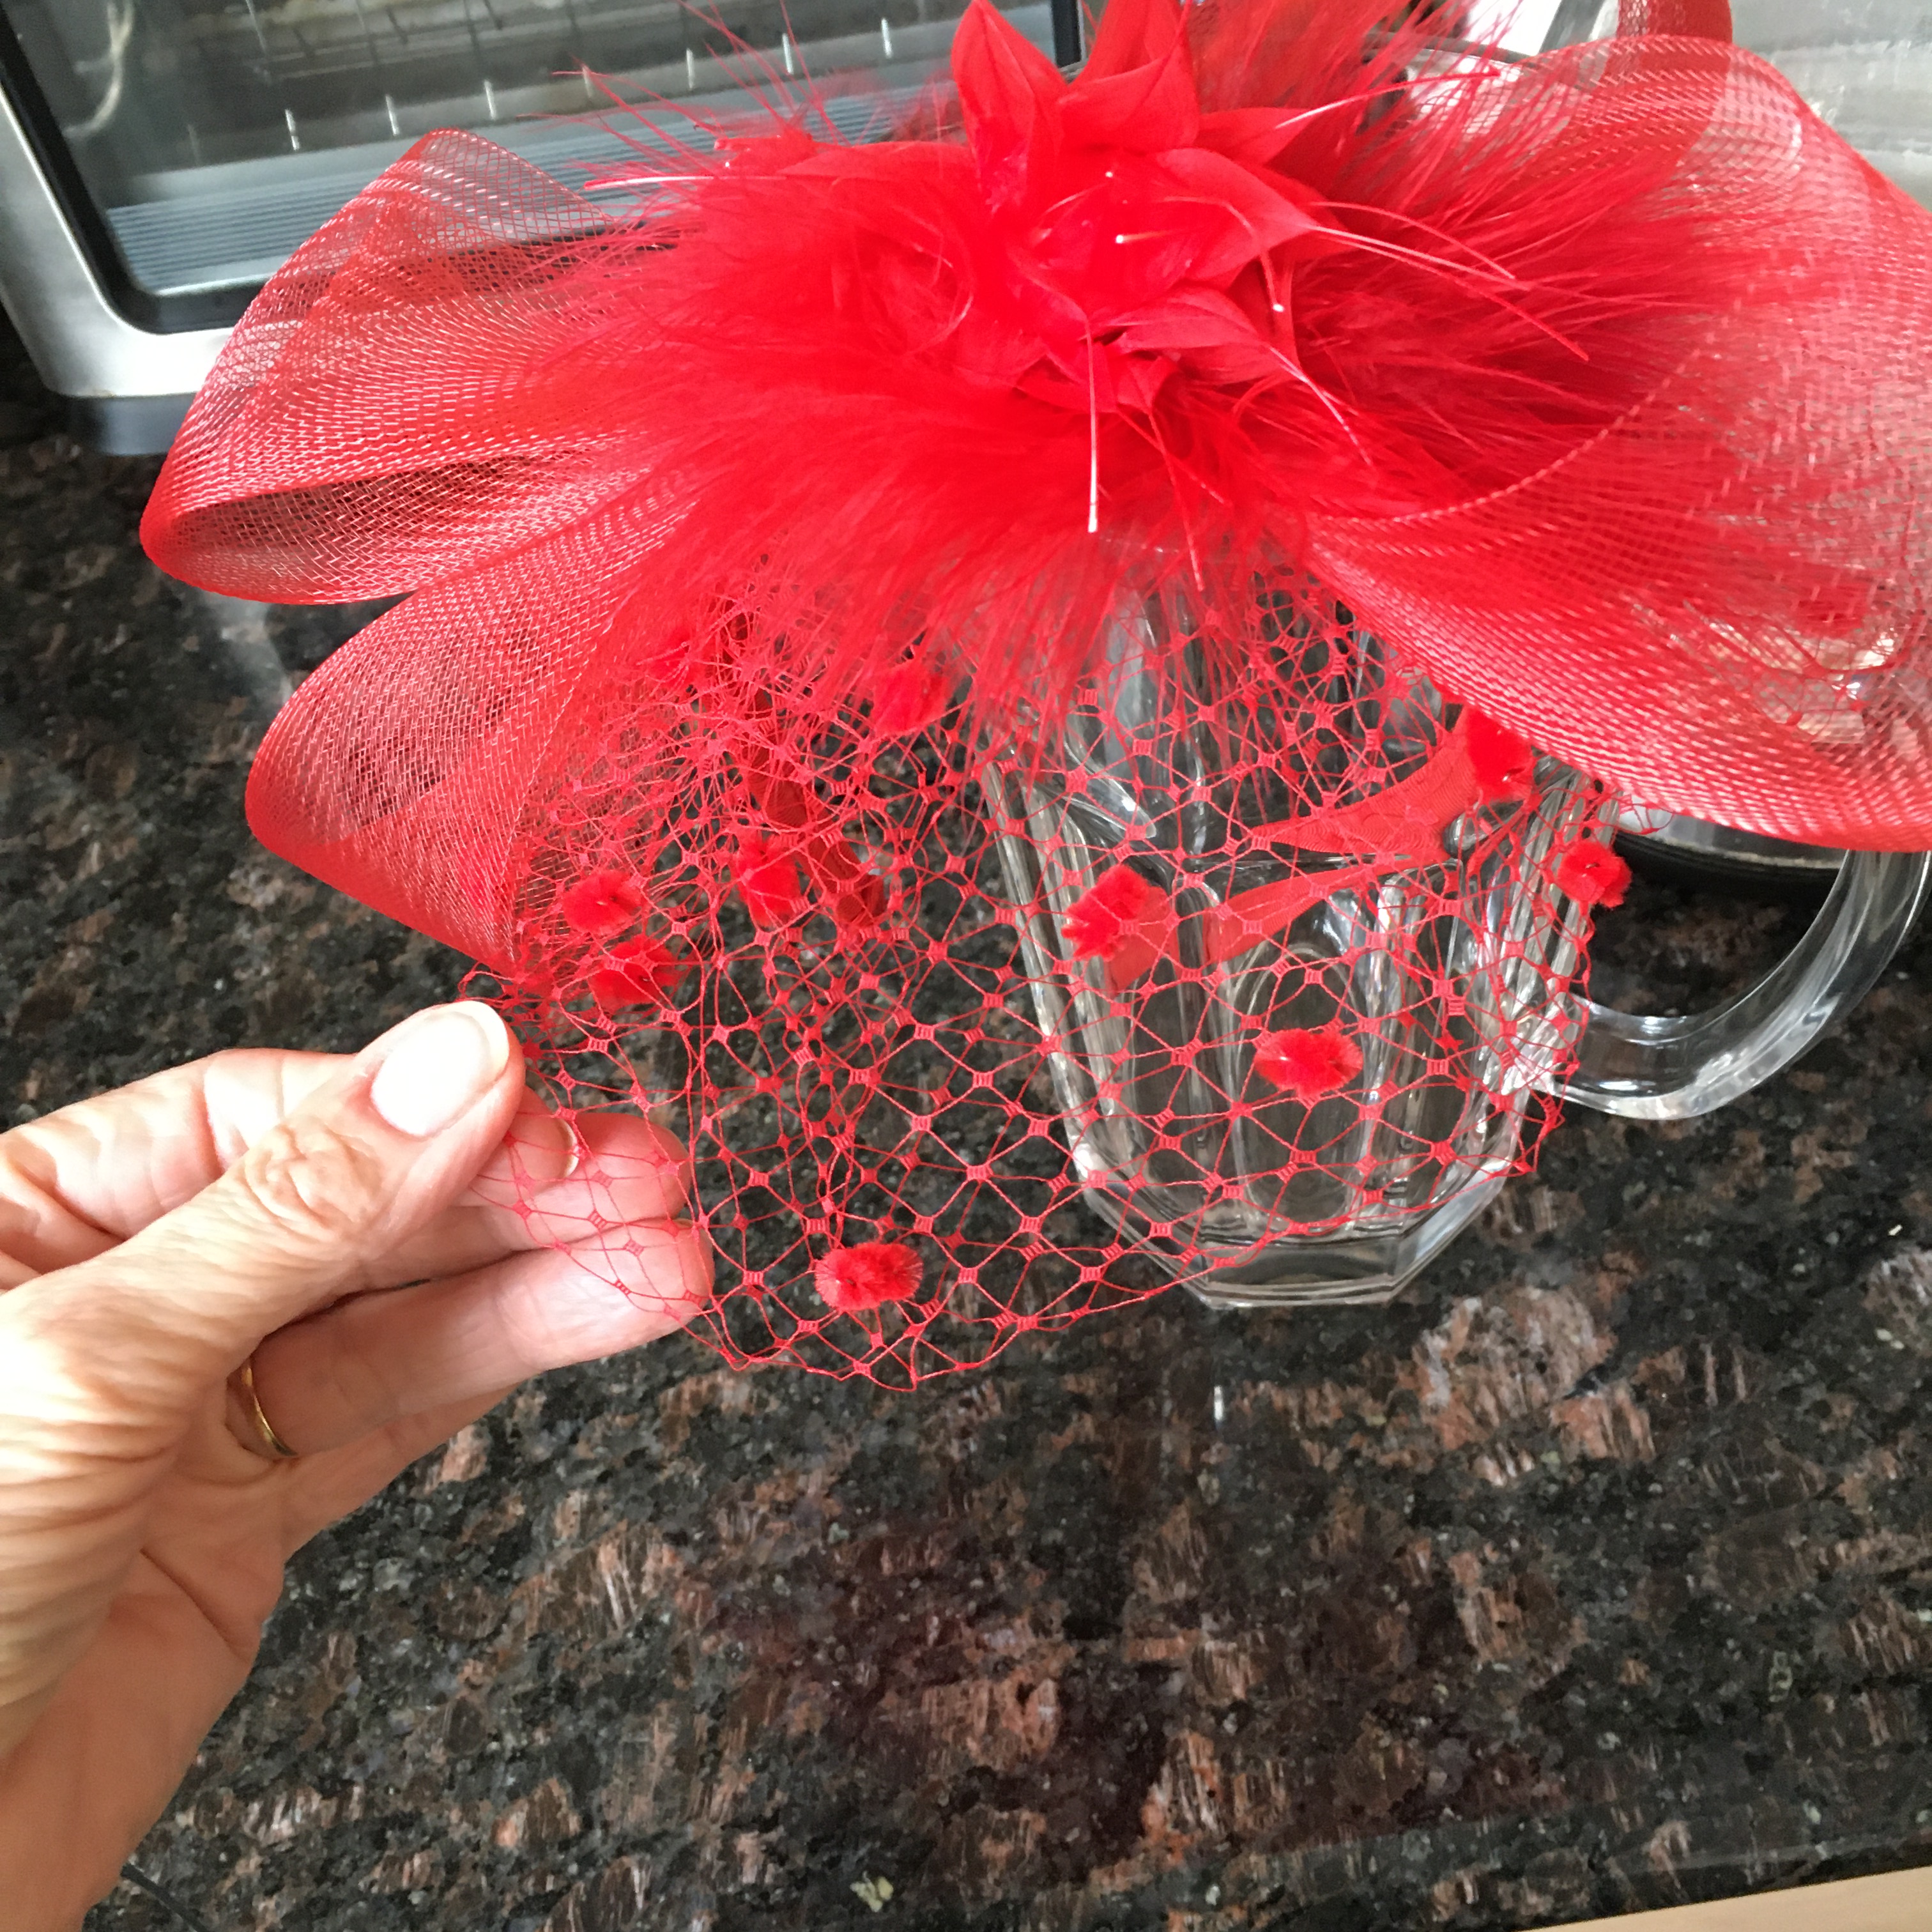
Repeat if necessary. Put your hat on a nice clean stand to dry and rest. A vase or jug is usually sturdy enough for this job.

Once it is completely dry, wherever possible store your hat in a box large enough that the feathers aren’t squashed with uncoloured tissue paper

Get ready for Royal Ascot

Royal Ascot promotional leaflet

The invitations are coming out now for Royal Ascot this June. Get ahead of the game and organise your special hat well in advance.

For a special hat to perfectly complete your outfit, please get in touch with me for a chat. I have fifteen years’ experience of hand making couture hats, large and small specially to match or complement your special outfit.

send me an email or phone me on 07905657343 for an appointment. You may also wish to have a look at my website to see more of my beautiful hats.

A repair service and hat hire service is also available.

The Royal Ascot Style Guide is given HERE

Darning socks

I have a favourite pair of hand knitted bedsocks that are looking rather worn out under the heels.

The yarn they were knitted from was handspun pure wool, so it was always liable to wear out quite quickly. (If you are going to knit a pair of socks, then use a yarn with a bit of nylon in the content as that won’t wear out so quickly)

Here’s how I darned my socks:

First of all, you’ll need a large sewing needle, some matching yarn and if possible, a darning mushroom. Darning mushrooms are often found in charity shops and many different brands are available online at varying prices. You might use a cup or jam jar instead. Sewing needles that have an eye large enough to sew with yarn are available from craft and at some hardware shops.

First, turn your sock inside out. Sew large running stitches along one side of the worn area and pull the darning yarn through, leaving a short end. Then with your needle facing the opposite way, go back with a row of running stitches parallel to the first row and pull the darning yarn through, but don’t pull it tight. Repeat this making parallel rows up and down across the whole of the worn area, until you get to the other side. It will still look a bit threadbare, but here comes the next bit!

You are now going to sew your running stitches across the worn out area at right angles to your existing stitches (see green arrows on the picture below left). Keep on sewing your parallel lines of running stitches back and forth across the whole area until you have got to the other end of the worn out bit. The area should now be covered with your stitches criss-crossing over the worn-out area. The short end you left at the start can now be snipped off, as can the remaining finished end of your yarn. (I won’t advise tying a knot or oversewing to finish off, as this will leave a lump under the heel of your sock.) Once your darned sock has been washed and worn a couple of times, the darning will blend in with the original knitting.

I have darned here using matching yarn. You may wish to use a contrasting yarn to make a feature out of the mend. There are loads of possibilities to highlight your mending skills. Have a look on You Tube for colourful darning tutorials.

Bubbles (the sheep) at Deen City Farm

Bubbles is a Zwartbles breed of sheep and she lives at Deen City Farm. You can visit her and several other Zwartbles sheep there.

Zwartbles sheep are very tame and gentle.  They were originally bred in the Netherlands and were brought to the UK in the 1990’s

The sheep are mainly used for their milk rather than their wool.

The name Zwartbles means “Black with a white blaze”

All Zwartbles sheep have patches of white or a strip of white down their faces, white socks on their back legs and sometimes a flash of white fleece on the front of their chests and the tip of their tail.

The fleece is very springy and is black in colour, although the sun may bleach it to dark brown.

Most sheep have fleece that grows all year round and this is shorn (cut off) by shearers who are specially trained to do this. This doesn’t hurt the sheep and is just like you or I having a hair cut.

The cut fleece has to be skirted (remove the really dirty bits and short hairs), and scoured (washed) to get any dirt out.

Here is Bubbles’ Fleece after it has been washed. It is laid out in the sun to dry.

Then it is carded (brushed) or combed to untangle each fibre.

This carded fleece can be spun on a spinning wheel into yarn that might be woven into fabric or used for knitting.

Fleece Fibre

Here is a lock of Bubbles’ fleece from when she was shorn in 2020. You can see how the individual fibres are very springy

a lock of Bubbles’ fleece.

The fleece then needs to be combed or carded to untangle the fibres.  Once it is carded, it looks like this:

Bubbles’ fleece has been carded. You can see it is lovely and fluffy, but it is still full of little bits of straw!

Now it can be spun, so that we can use it to make something else.

Spinning the Fleece

Spinning the fleece using a spinning wheel like this twists the fibres together into yarn called a single. The more singles that are plied (twisted together), the stronger the yarn.

This is a modern spinning wheel made by Ashford.

Here’s an example of Bubbles’ fleece spun into a two-ply yarn:

Two single strands are plied (twisted) together

Here’s an example of Bubbles’ fleece spun into a three-ply yarn:

Three single strands are plied (twisted) together.

Here’s what Bubbles’ Fleece looks like when it’s been knitted into a square:

And here’s what Bubbles’ fleece looks like when knitted into a toy sheep!

Links:

Deen City Farm

Guild of Spinners Weavers and Dyers

British Wool animal welfare resources and videos

Ashford spinning wheels

Washing your handwoven scarf or wrap

Handwoven scarves tend to be quite easy to pull out of shape or snag threads, so you’ll need to be a bit more careful when washing them.

Remove rings and jewellery, so you won’t catch the on the scarf while you’re working.

You will need the following: lukewarm water, a sink, bowl or bucket, some liquid soap, optional fabric conditioner, a bath towel (or two smaller hand towels laid end-to-end), somewhere to dry your scarf.

Fill a bowl, sink or bucket with lukewarm (hand hot) water and put in a little squirt of liquid soap.

Now put the scarf into the water and agitate it gently for a few seconds to make sure the whole garment is wet through.

Leave it to soak for about five minutes

Take the scarf out of the soapy water and tip it out. Refill the bowl with clean lukewarm water and immerse the scarf to wash out the soap suds.

You may need to do this a couple of times to get all the soap out.

You may wish to put a small amount of fabric conditioner in the final rinse.

Place a bath towel on a flat surface (kitchen worktop shown here) ready for when you have finished the rinsing.

Take the scarf out of the final rinse water and very gently give it a squeeze, so it’s not dripping with water.

Place it nice and flat on the towel.

Now begin to roll the wrap the scarf up inside the towel like a Swiss roll. This will soak up most of the water left in the scarf.

Now your scarf is ready to dry naturally, indoors or outdoors, either flat on a rack or hanging up (shown here on a radiator airer).

What size hat do I need?

If you are looking for a fitted hat, then you’ll need to know what size your head is.

Here’s a quick guide to measuring your head:

Put a tape measure around your head where the hat will sit, so that is above the ears, above the eyebrows and just below the bump at the back of your head.

In the photo above, the measurement is just under 60 centimetres, so the size to choose is large.

The size to choose for this measurement (above) of just over 54cm is small.

Here’s a handy size guide:

SizeSmall
Medium
Large
Ex Large
Size UK6 3/46 7/877 1/87 1/47 3/87 1/2
In cms55 cm56 cm57 cm58 cm59 cm60 cm61 cm
In inches21 5/8”22”22 1/2”22 3/4”23 1/4”23 5/8”24”

Knitting for TV (The Third Day)

This was a lovely job knitting beanie hats for the TV series The Third Day (Sky TV September 2020).

I knitted Fair Isle-type pockets for waistcoats for a couple of the cast and well as several beanie hats with a Fair Isle-type design around the band.

The yarn was all double knitting thickness from Jamieson’s of Shetland.

The design was created specially for the programme.

Here are some of the hats:

Here is a tiny image from the programme:

Blocking a finished knitting project (Burrafirth Shawl)

Blocking a finished knitting project is quite straightforward as long as you follow a couple of rules. Rule one, make plenty of space and rule two, take plenty of time.

Before blocking your shawl, you will need to have washed and partly dried it. Please see my blog on “Washing your woollen hat” for advice on how to do this.

To block this shawl, I used the following equipment:

  1. A space on a carpeted floor. You can use a rug, child’s rubber play mats, camping mats, gym mats, and so on but make sure they are clean and colour fast before blocking.
  2. Plenty of clean towels
  3. Dressmaker’s pins

Firstly, make plenty of space and lay out your towels so that your knitting has enough space to lay out flat.

There’s plenty of space on the towels for the shawl.

Take your time. Pin out first, one edge of the knitting without stretching it.

Have a look at it from above or from a different angle and tweak it if it doesn’t look right

The straight edge still isn’t right, so it needs pinning again

Making sure not to stretch the garment, re-do it if it isn’t right first time.

This edge is stretched out too far and needs to be un-pinned and re-done
This is much better, but still needs to be evened out

Gently smooth the garment out with the flat of your hand.

The shawl took about an hour to pin out (and re-pin several times!) and about 24 hours to fully dry. It’s well worth the effort to take the time.Once dry, carefully remove all the pins and you can now wear your shawl!

The pattern for the Burrafirth Shawl is by Gudrun Johnston and was found in the Shetland Wool week annual 2019.

This shawl was made using handspun yarn mainly from a shetland fleece (pale cream and light grey) with some Jacob (dark grey) and Merino (mid grey).

Adjusting the size of your hat or cap

Many of my hats and caps are fitted with an adjustable head fitting.

Here’s how it works:

Firstly, undo the centre back knot and separate the two pieces of elastic at the centre back of the hat.

Undo the knot at the centre back of the cap.

Then put on your hat while still holding the two pieces of elastic (it may be easier to get someone else to help at this point).

Now, while the hat is on your head, tie a single knot in the elastic so that the hat fits comfortably and take the hat off without letting the knot undo.

Finally, take off the hat and secure the knot, making sure that the ends are tucked back inside the channels.

Once the knot ids tied up, tuck the ends back in.

You can repeat the process whenever necessary.

Remember that your hat will mould itself to your head to fit you with more wear and will need adjusting periodically.

This cap is made from Yorkshire Tweed and is available to buy in my online shop

Knitting for TV (The Terror)

I was privileged to be asked to knit for the first series of The Terror (aired 2018). This is a dramatisation of Dan Simmons’ book of the same name. It tells a dramatised story of the (real) British Naval expedition, led by Captain John Franklin in 1845, to find the North West Passage.  The expedition fails and all lives are lost when the two ships, Erebus and Terror are trapped in thick ice in the depths of the polar winter.

I was asked to knit a number of Welsh Wigs, which were standard issue to Naval Officers at the time.  This is a very finely knitted headpiece that mimics a wig and can be worn underneath  a uniform hat, as required by the Naval officers in the story. The pattern is by Sally Pointer and is available to buy on Ravelry or she will make one for you (link below).  It was a delight to knit and very satisfying to complete.  This garment was used to keep the men’s heads, ears and necks warm in polar conditions.

This garment was popular at the time, so a great number were required for the characters in many “hair” colours. My knitting was for the principal actors.  Many others were knitted for the crowd by a team of knitters in Europe.

Here they are being worn by the actors:

My brief was to also provide samples of authentic period (1850’s) naval and civilian knitted headwear. I was given photos and illustrations of the type of garment required and then I knitted these up into samples for the costume designer to use or have copied by the team of knitters.

Here are some being worn by the actors:

Links:

Sally Pointer’s Welsh wig

The Terror TV series info